Cloud Controller — full walkthrough
For the shared shape of the journey across both run modes, start with the end-to-end workflow. This article is the Cloud Controller (CCX) deep walkthrough — every CCX Getting Started article zooms into one of the steps below.
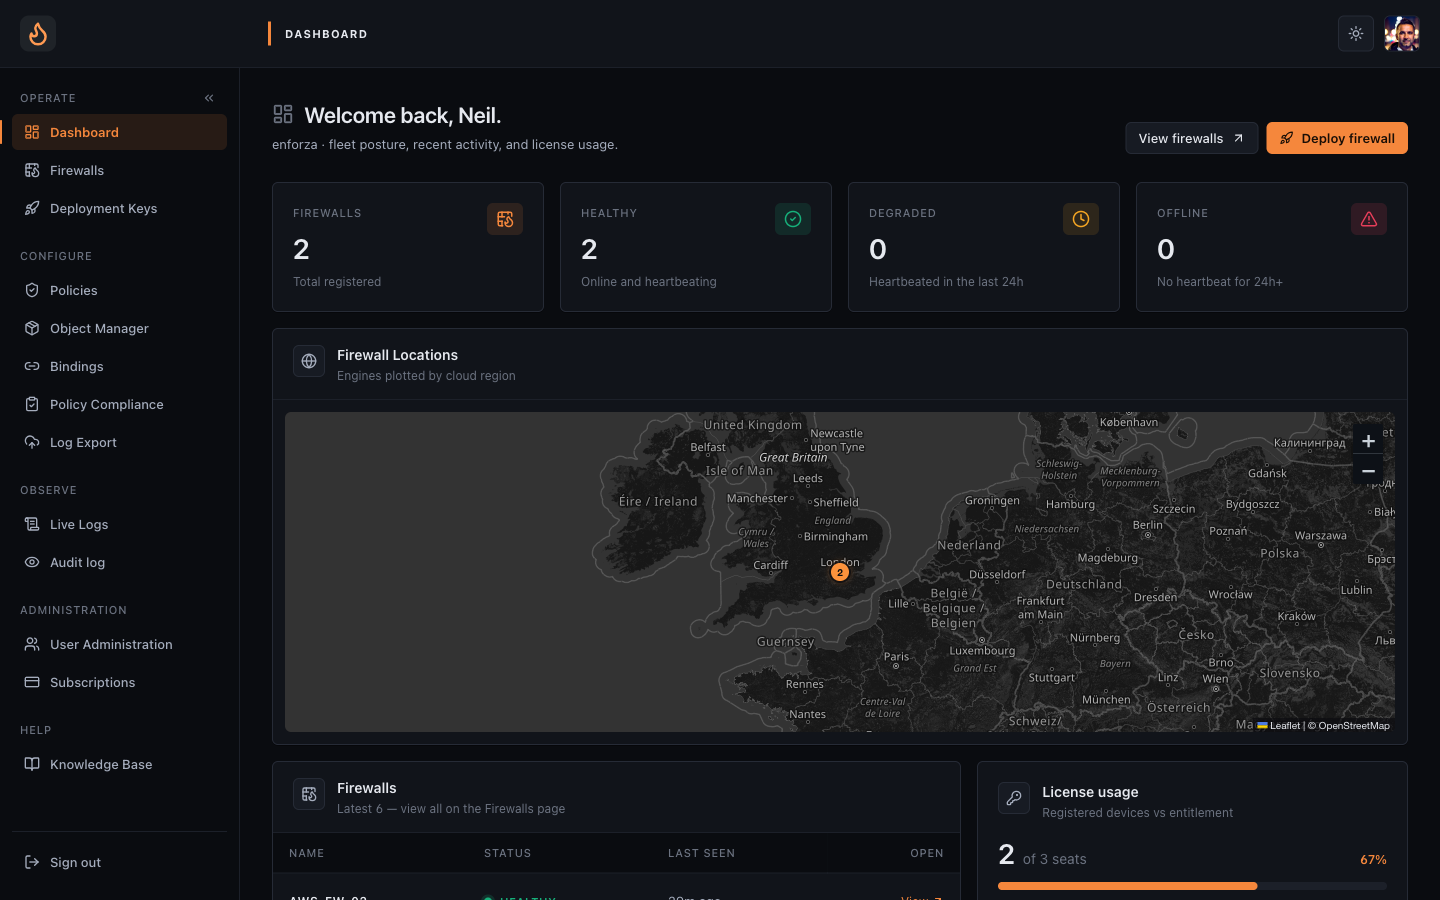 The dashboard — fleet posture, recent activity, license usage. Your home base.
1. Get a firewall under management
Section titled “1. Get a firewall under management”Stand up a VM in your own cloud account, install the engine, and watch it register with the control plane.
- Provision a Linux VM in AWS, Azure, or GCP. Enable IP forwarding (or disable source/dest check on AWS) so the VM can route traffic.
- Sidebar → Firewalls → New firewall. Pick a name; the console issues a one-shot deployment key.
- SSH to the VM and run the install one-liner the console hands you. It installs and starts the Enforza packet-engine.
- The packet-engine swaps the deployment key for a long-lived licence token, opens its secure outbound connection to the platform, and appears on the Firewalls list with a green heartbeat chip within ~10 seconds.
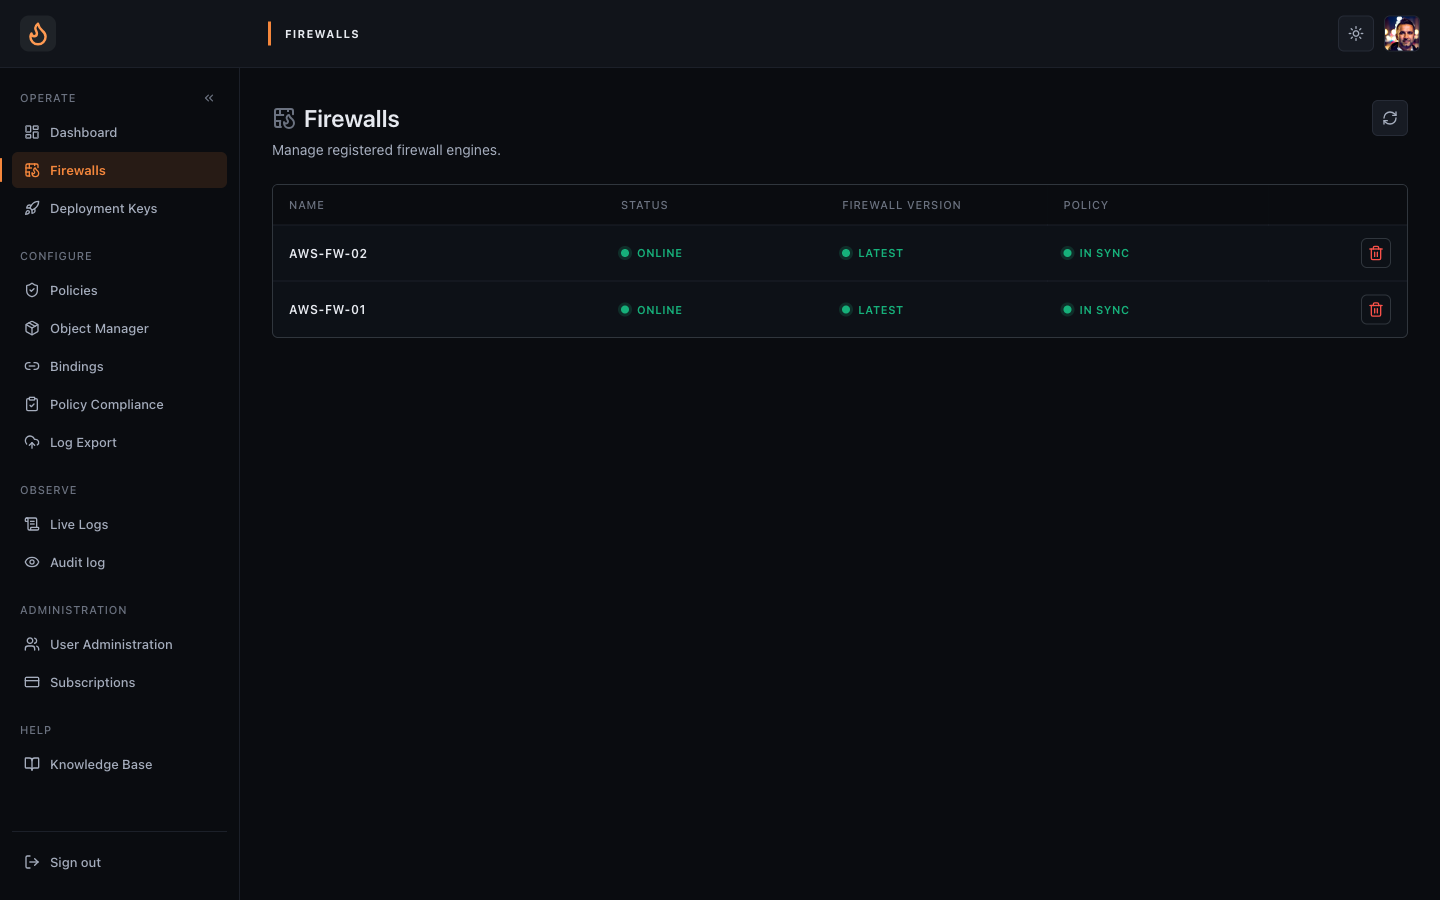 Firewalls list once two engines have registered and gone Online.
Deep-dives: AWS · Azure · GCP.
2. Build a policy
Section titled “2. Build a policy”Policies are composed in the console, not in YAML. A policy has three sections
matching where the engine sits in the packet path: to-firewall (traffic
destined for the VM itself), through-firewall (the normal forwarding case),
and from-firewall (anything the VM originates — DNS, NTP, package updates).
Without objects (literal addresses)
Section titled “Without objects (literal addresses)”The simplest first policy uses literal IPs and CIDRs directly in rules. Quick to author, fine for a handful of rules, but addresses get repeated across rules so changes are painful at scale.
With objects
Section titled “With objects”Sidebar → Objects. Define reusable address groups (e.g. corp-vpn,
prod-app-tier) once, then reference them by name from any rule. Edit the
object and every rule that uses it updates on the next publish.
With cloud-range objects
Section titled “With cloud-range objects”A special object kind: cloud range. Instead of a static IP list it names a published cloud-provider range — e.g. “AWS S3 in eu-west-2”, “Azure Front Door”, “GitHub webhooks”. The control plane keeps the underlying IP list current from each vendor’s range manifest, so rules that reference the object always carry the up-to-date prefixes without you editing anything.
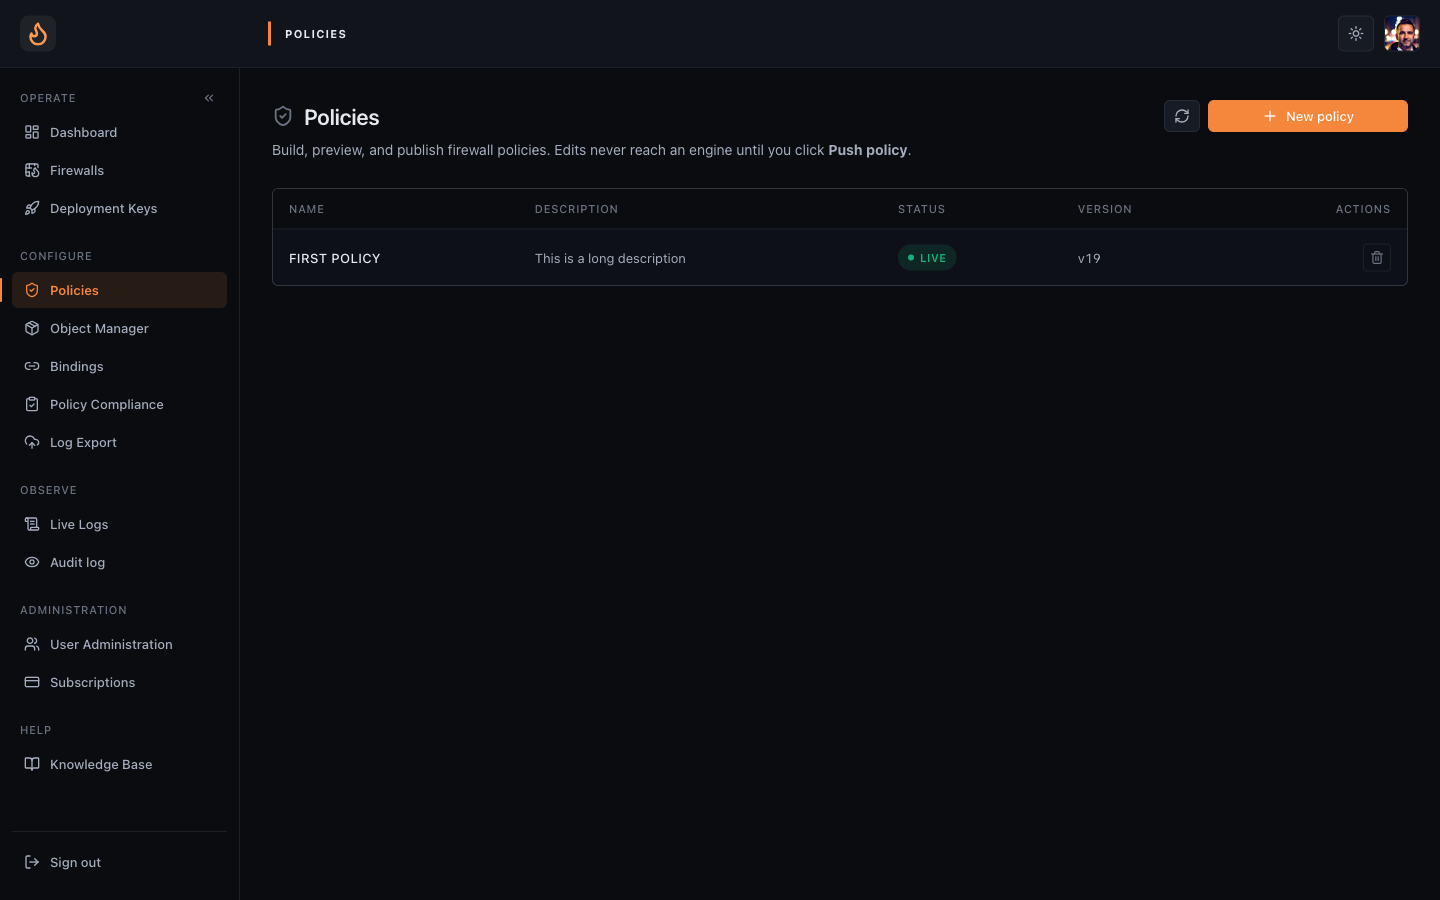 Policies live in their own catalogue — version, status (DRAFT vs LIVE), and a one-click rollback.
Deep-dive: Build a simple policy.
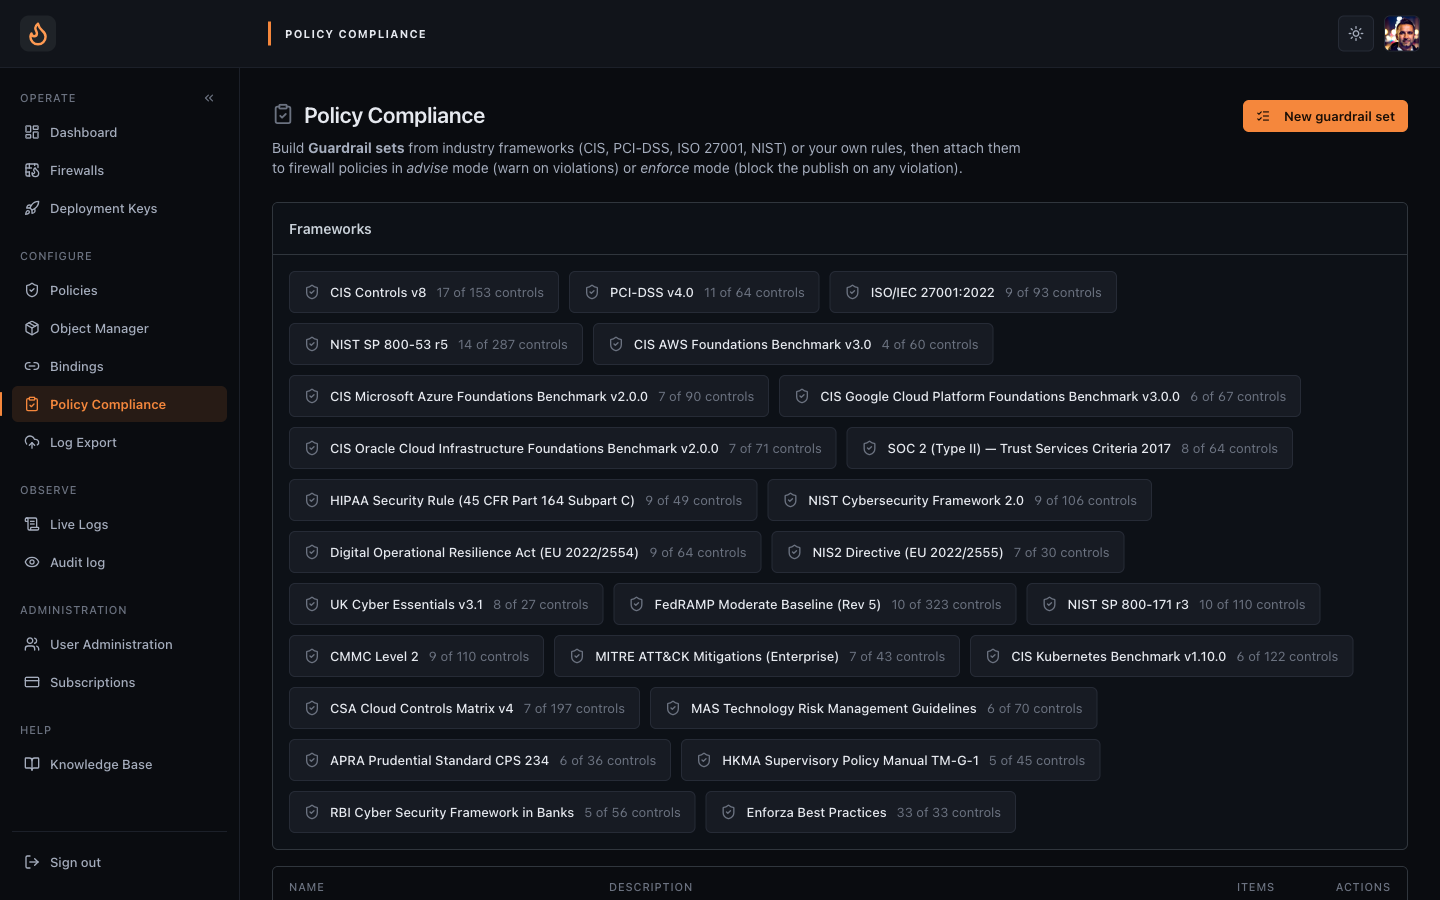 Policy Compliance — bind guardrail packs (PCI-DSS, ISO 27001, CIS, custom) that run on every publish.
3. Publish the policy (compliance gate)
Section titled “3. Publish the policy (compliance gate)”Saving a draft is safe — the engine doesn’t see it. Publish is the action that releases the policy. Publish runs the policy through two gates:
- Schema check — structural validation. Always on.
- Compliance check (optional) — your tenant’s bound guardrail packs run against the policy. PCI-DSS, ISO 27001, CIS, custom packs, etc. Each pack returns pass / warn / fail per rule.
If guardrails are unbound, publish only runs the schema gate and goes straight through. If guardrails are bound, fails block publish; warns are surfaced but do not block. The published version lands in the policy’s 20-version history ring buffer — rollback is a click.
4. Bind the policy to a firewall
Section titled “4. Bind the policy to a firewall”A published policy enforces nothing until you bind it. Open the firewall’s detail page, Policy tab, pick the policy from the dropdown, Save. The control plane pushes the change to the packet-engine over that secure connection and it applies it without dropping traffic.
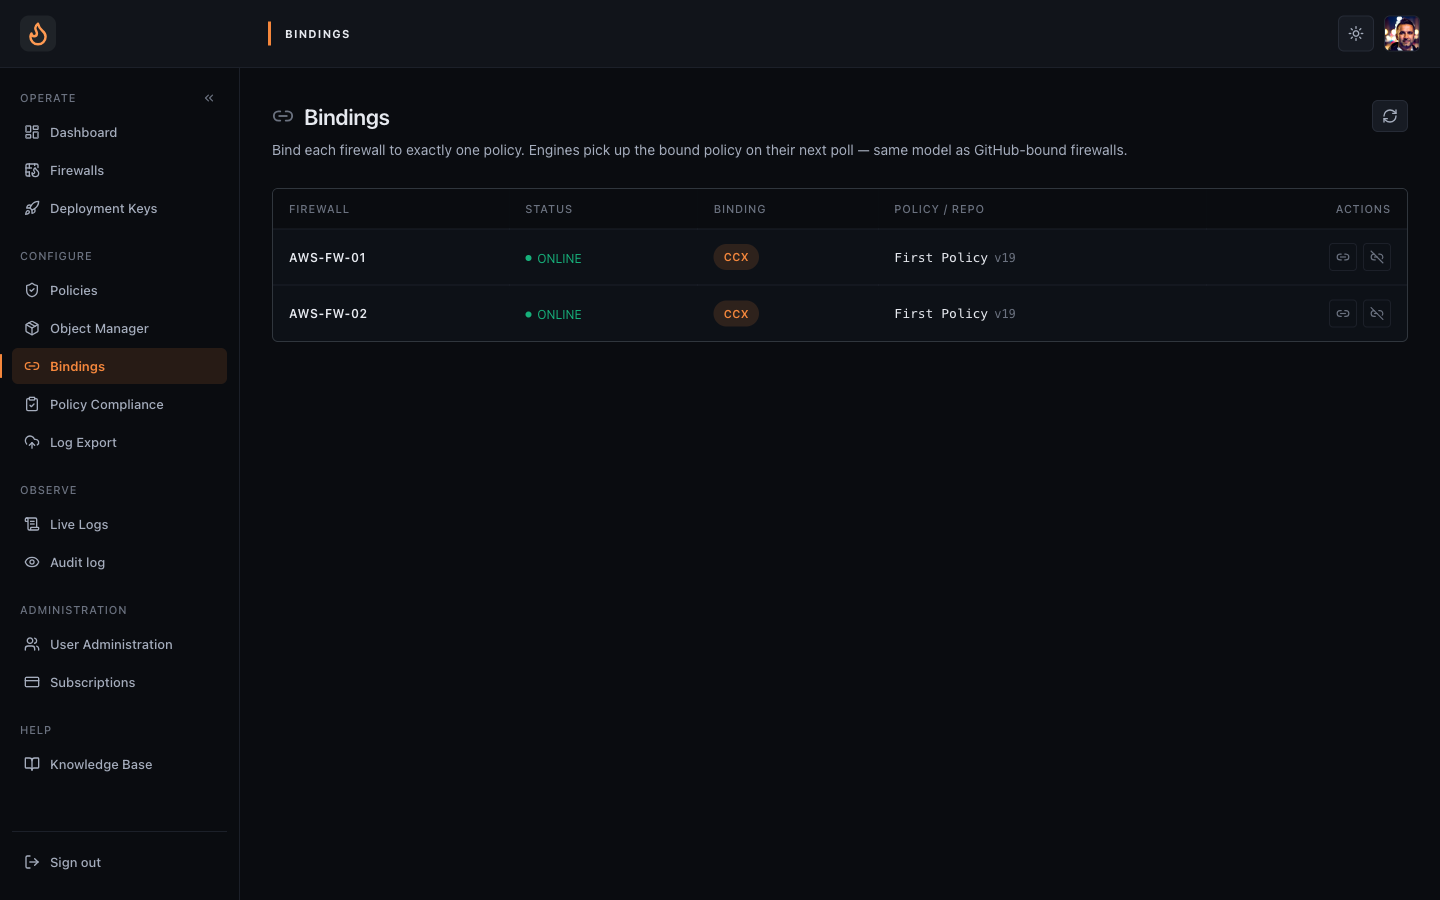 Bindings — one row per firewall, showing which policy version is currently enforced.
Deep-dive: Bind a policy to a firewall.
5. Ship logs to your SIEM / archive (optional)
Section titled “5. Ship logs to your SIEM / archive (optional)”The engine writes its traffic log locally on the VM and streams it to the console regardless of whether you set up sinks. Sinks are how you tee a copy of every event into your log estate.
- Sidebar → Log Export → create a sink (AWS S3, Azure Monitor / Sentinel, or Splunk HEC). Sinks are tenant-scoped, not per-firewall.
- Set up the cloud-side credentials your sink kind needs — IAM role for S3, managed-identity + DCR for Azure, HEC token for Splunk.
- Open the firewall’s Log Export tab and tick the sinks this firewall should write to. Save.
- Within 30s the firewall row shows a per-sink health chip. Awaiting first heartbeat means the binding is in place but no event has shipped yet — usually a credentials issue.
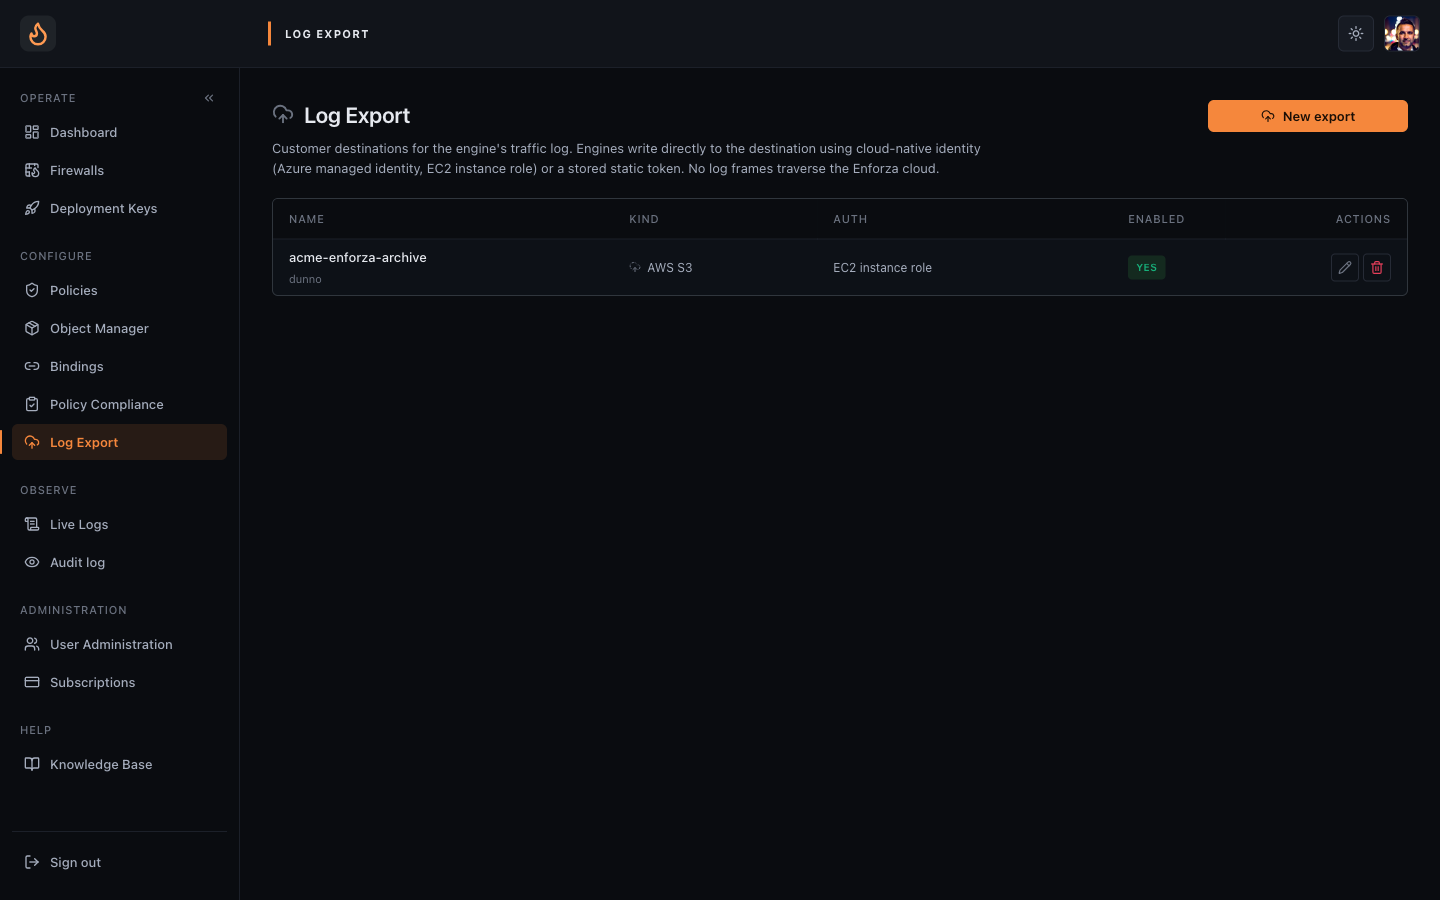 Log Export sinks — tenant-scoped destinations you tee traffic events into.
Setup deep-dives: AWS S3 · Azure Monitor · Splunk HEC.
6. Watch live logs
Section titled “6. Watch live logs”The console has its own live stream, independent of sinks — it works from the moment an engine registers.
- Single firewall. Firewall detail → Live logs. One engine’s events in real time, with country / ASN / SNI annotations applied cloud-side.
- Fleet (multi-firewall). Sidebar → Live logs. The merged stream from every firewall in the tenant, interleaved by timestamp, with a per-row badge identifying which firewall emitted each event. Filter by firewall, action, country, port.
- History. The same view supports a time-range picker — last 15 min through last 7 days — backed by cloud-side log retention.
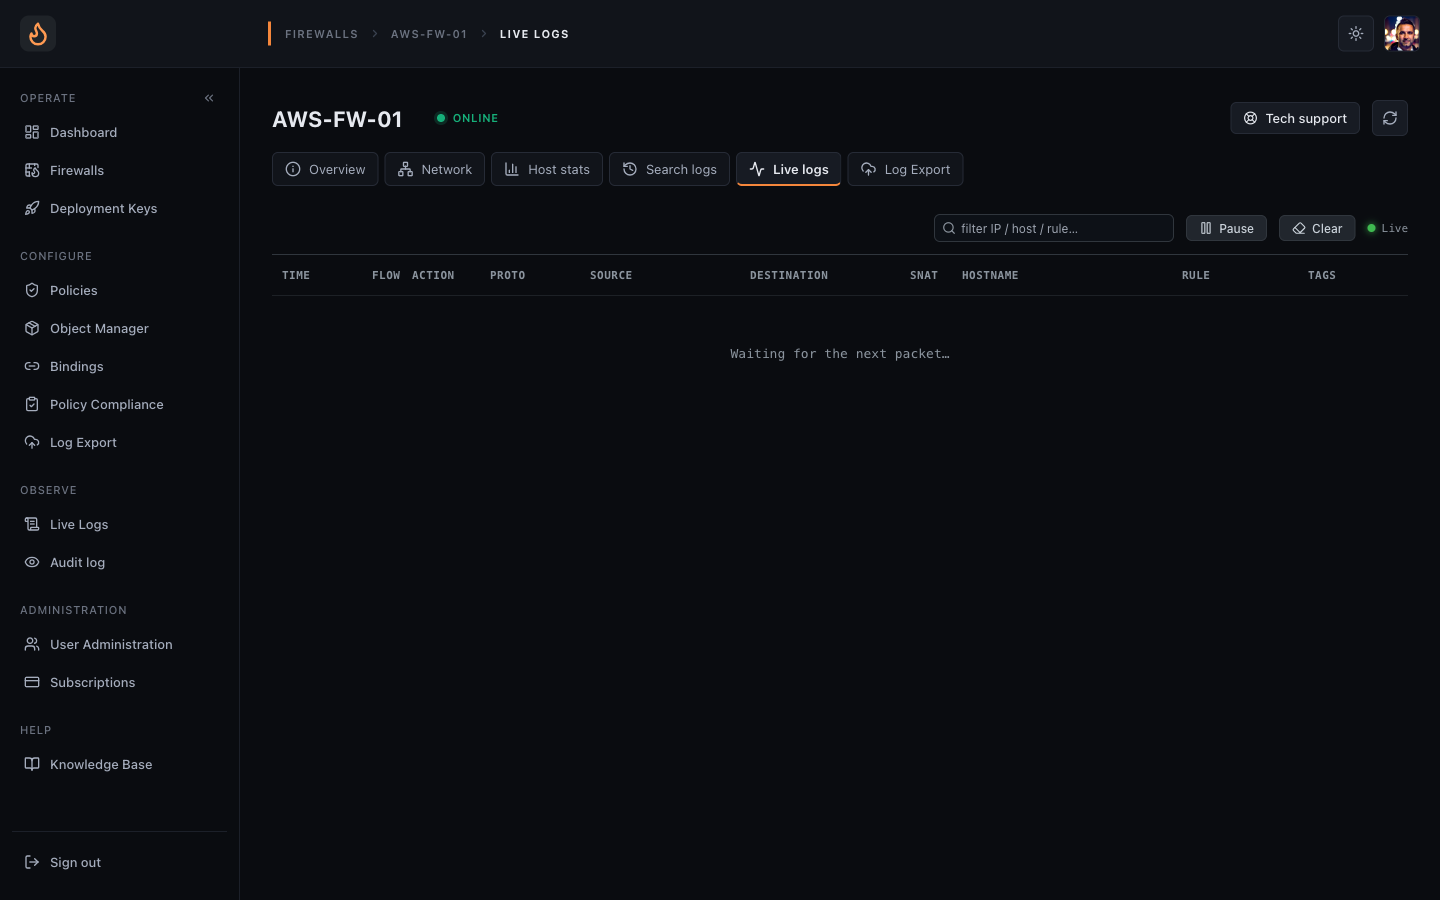 Live logs — events stream in from the packet-engine over the same secure connection the control plane uses.
Deep-dive: Watch live logs.
Where to next
Section titled “Where to next”Follow the Getting Started sequence in order if you’re new — each article ends with a link to the following step. Otherwise, jump straight to whichever step you’re stuck on. Next: Deploy your first firewall — AWS.