Deploy your first firewall — Azure
The engine is a single Linux daemon that filters traffic at line rate using standard Linux network primitives. You’ll deploy it on an Azure Linux VM you control, in your own VNet. Plan on ~5 minutes from “create VM” to “first packet inspected”.
1. Pick a VM size
Section titled “1. Pick a VM size”- Lab / proof-of-concept —
Standard_B2s(2 vCPU, 4 GiB) for <100 Mbps and a handful of flows/sec. - Production egress / east-west —
Standard_F4s_v2orStandard_F8s_v2. The engine auto-tunes hardening meters to VM size. - Image — any modern Ubuntu (22.04+ LTS recommended), Debian, RHEL, Rocky, or Alma.
2. Create the VM
Section titled “2. Create the VM”- Portal → Virtual machines → Create.
- Image / size — from step 1.
- Authentication — SSH public key. (Password auth disabled — security baseline.)
- Networking — VNet/subnet you want firewalls deployed in. The engine needs
outbound 443 to
api.enforza.io; if the VNet has a route to the internet that’s enough. - Public IP — assign one for the management interface unless you have private connectivity (Express Route / VPN) covering outbound HTTPS.
- NSG outbound — allow all (default), or scope to HTTPS to the control plane plus whatever destinations your future policy needs to permit.
- Identity — enable System-assigned managed identity. Saves a step if you later add an Azure Monitor log-export sink (the sink editor’s setup guide expects this).
- Review + create. Note the VM name.
3. Enable IP forwarding on the NIC
Section titled “3. Enable IP forwarding on the NIC”Azure’s NIC-level enableIPForwarding is the equivalent of AWS’s source/destination
check — it lets the NIC accept and emit packets that aren’t its own IP. Without it, an
inspection VM can’t forward.
# Look up the NIC nameaz vm show -g <resource-group> -n <vm-name> \  --query 'networkProfile.networkInterfaces[0].id' -o tsv
# Turn on IP forwardingaz network nic update \  --resource-group <resource-group> \  --name <nic-name> \  --ip-forwarding true
Portal equivalent: the VM’s NIC → IP configurations → toggle Enable IP forwarding.
4. (Inspection topology) route subnets through the engine
Section titled “4. (Inspection topology) route subnets through the engine”For VNets where this engine should see other subnets’ traffic: create a User Defined
Route (UDR) on those subnets with a 0.0.0.0/0 next-hop of type Virtual appliance
pointing at the engine VM’s private IP. Azure delivers the forwarded packets back out
the engine’s NIC because IP forwarding is on.
5. Generate a deployment (registration) key
Section titled “5. Generate a deployment (registration) key”- In the Enforza console, go to Deployment Keys.
- Click Mint key, give it a hint (e.g.
westeurope-edge-1) — becomes the engine’s display name. - Copy the one-time install command shown.
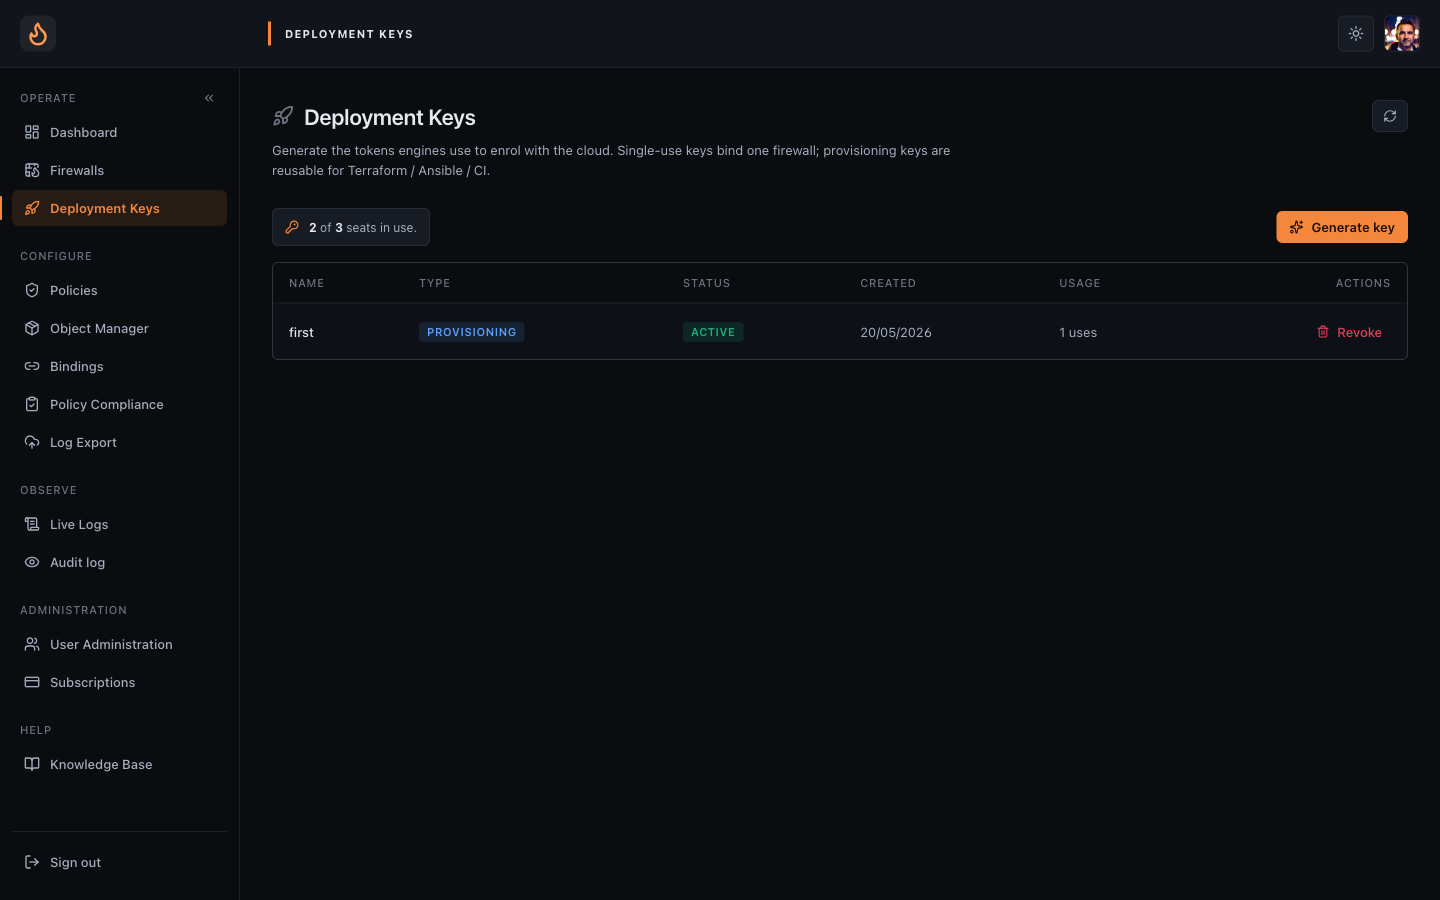 Deployment Keys — the same console surface, regardless of which cloud the engine will run in.
6. Install the engine
Section titled “6. Install the engine”-
SSH into the VM.
-
Paste the install command:
Terminal window curl -fsSL https://downloads.enforza.io/install.sh \| sudo bash -s -- --regkey=YOUR-KEY-HERE -
~30–60 seconds. The script detects the distro, installs prereqs, fetches the engine binary, registers, and starts the systemd unit.
7. Verify
Section titled “7. Verify”- On the VM:
systemctl status enforza-engine— should be active (running). - In the console: Firewalls — engine appears with status Online within ~10 s.
Troubleshooting
Section titled “Troubleshooting”- “registration key not found” — key consumed by another engine or expired. Mint a fresh one.
- Engine running but offline in console — outbound 443 blocked. Check the VM’s NSG, the subnet’s NSG, and any Azure Firewall in front of it.
- Engine online but traffic not forwarding — IP forwarding still off, or no UDR pointing at the engine’s private IP. Re-check steps 3 and 4.