Deploy your first firewall — GCP
The engine is a single Linux daemon that filters traffic at line rate using standard Linux network primitives. You’ll deploy it on a Compute Engine VM you control, in your own VPC. Plan on ~5 minutes from “create instance” to “first packet inspected”.
1. Pick a machine type
Section titled “1. Pick a machine type”- Lab / proof-of-concept —
e2-small(2 vCPU, 2 GiB) for <100 Mbps. - Production egress / east-west —
c3-standard-4orc3-standard-8. The engine auto-tunes hardening meters to instance size. - Image — any modern Ubuntu (22.04+ LTS recommended), Debian, RHEL, or Rocky.
2. Create the VM with IP forwarding enabled
Section titled “2. Create the VM with IP forwarding enabled”gcloud compute instances create enforza-edge-1 \ --project=<your-project> \ --zone=europe-west2-a \ --machine-type=e2-small \ --network-interface=subnet=<subnet>,no-address \ --can-ip-forward \ --image-family=ubuntu-2204-lts \ --image-project=ubuntu-os-cloud \ --service-account=<sa@project.iam> \ --scopes=cloud-platformNotes on the flags:
--can-ip-forward— the GCP equivalent of “disable source/destination check”. Required for any forwarding topology. Cannot be changed after create — must be set now.--network-interface=...,no-address— no external IP if your VPC has Cloud NAT for outbound. Useaddress=instead to assign a public IP.--service-account=— if you plan to use the GCP Cloud Logging sink later, pre-attach a service account withlogging.logWriter. Saves a recreate-the-VM step later.
Portal equivalent: Compute Engine → Create instance → Advanced → IP forwarding: On.
3. Open outbound connectivity
Section titled “3. Open outbound connectivity”VPC firewall rules in GCP default to allow egress, so most installs Just Work. If you have stricter egress rules, the engine needs:
- HTTPS (TCP 443) to
api.enforza.ioanddownloads.enforza.io. - DNS (UDP 53) — to your VPC’s DNS resolver.
- NTP (UDP 123) — for clock sync. JWT verification breaks at >5 min skew.
4. (Inspection topology) point routes at the engine
Section titled “4. (Inspection topology) point routes at the engine”For VPCs where this engine should see other subnets’ traffic: create a custom route
with destination 0.0.0.0/0 and Next hop = Specify an instance pointing at this
VM. Higher priority than the default Internet gateway route. The engine’s
--can-ip-forward permits it to relay onward.
5. Generate a deployment (registration) key
Section titled “5. Generate a deployment (registration) key”- In the Enforza console, go to Deployment Keys.
- Click Mint key, hint (e.g.
europe-west2-edge-1) — becomes the engine’s initial display name. - Copy the one-time install command.
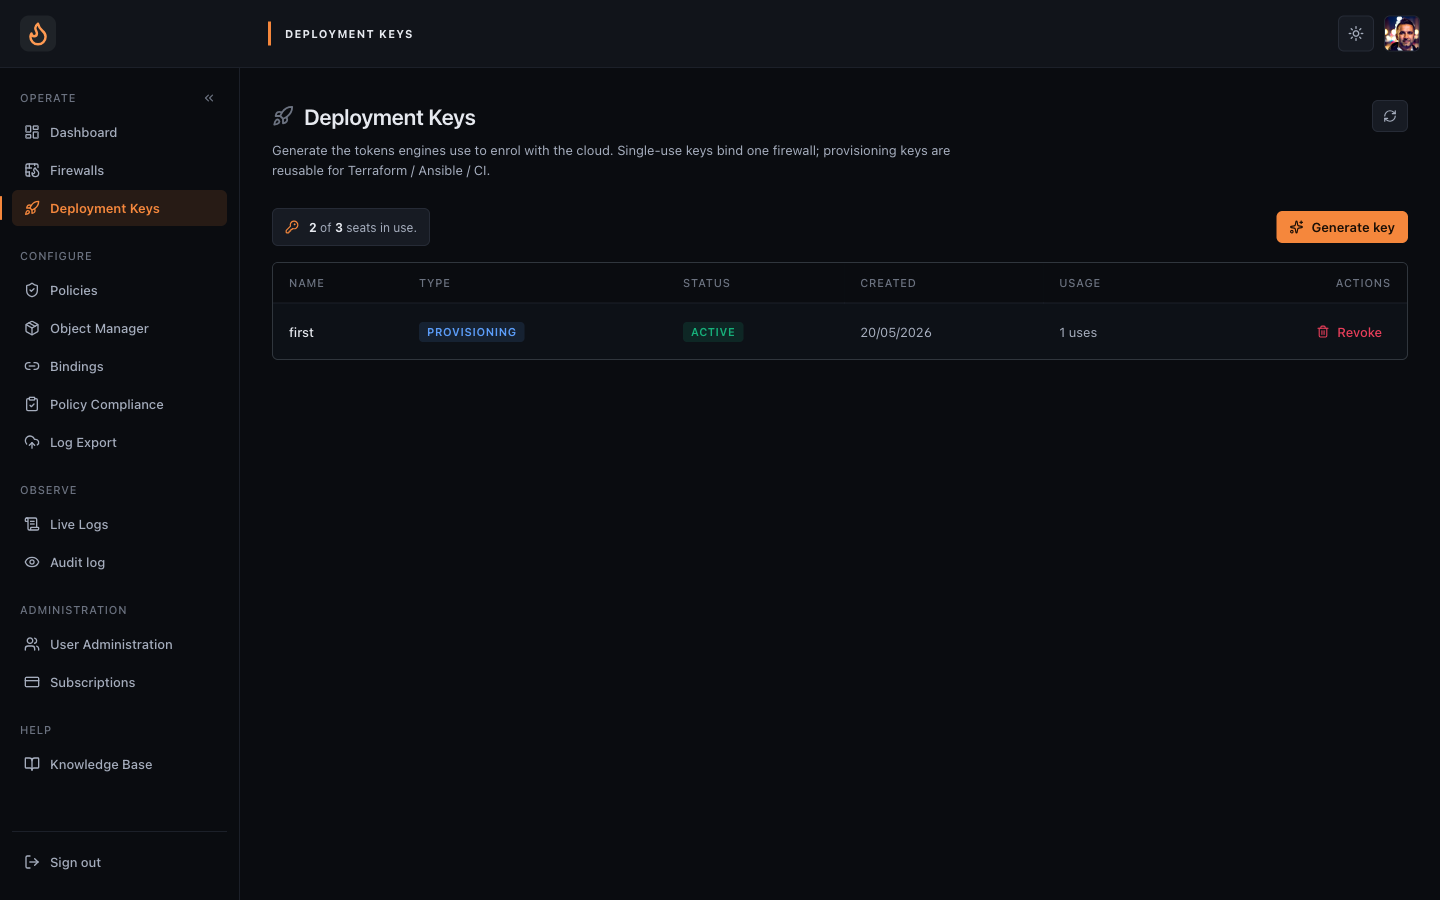 Deployment Keys — the same console surface, regardless of which cloud the engine will run in.
6. Install the engine
Section titled “6. Install the engine”-
SSH into the VM:
gcloud compute ssh enforza-edge-1. -
Paste the install command:
Terminal window curl -fsSL https://downloads.enforza.io/install.sh \| sudo bash -s -- --regkey=YOUR-KEY-HERE -
~30–60 seconds.
7. Verify
Section titled “7. Verify”- On the VM:
systemctl status enforza-engine— should be active (running). - In the console: Firewalls — engine appears with status Online within ~10 s.
Troubleshooting
Section titled “Troubleshooting”- “registration key not found” — key consumed by another engine or expired. Mint a fresh one.
- Engine offline in console — outbound 443 blocked. Check VPC firewall egress rules; if no external IP, check Cloud NAT is in place for the engine’s subnet.
- Engine online but traffic not forwarding —
canIpForwardwasn’t set at create, or no custom route points at this instance. The flag is immutable after create, so recreate the VM if it’s wrong.
Next: Build a simple policy.