Build a simple policy and push it live
With an engine online, the next step is a policy for it to enforce. CCX policies
are composed in the console — no YAML editing required. The policy is structured
into three sections matching where the engine sits in the packet path:
to-firewall (management), through-firewall (the normal forwarding case),
from-firewall (anything the firewall VM itself originates).
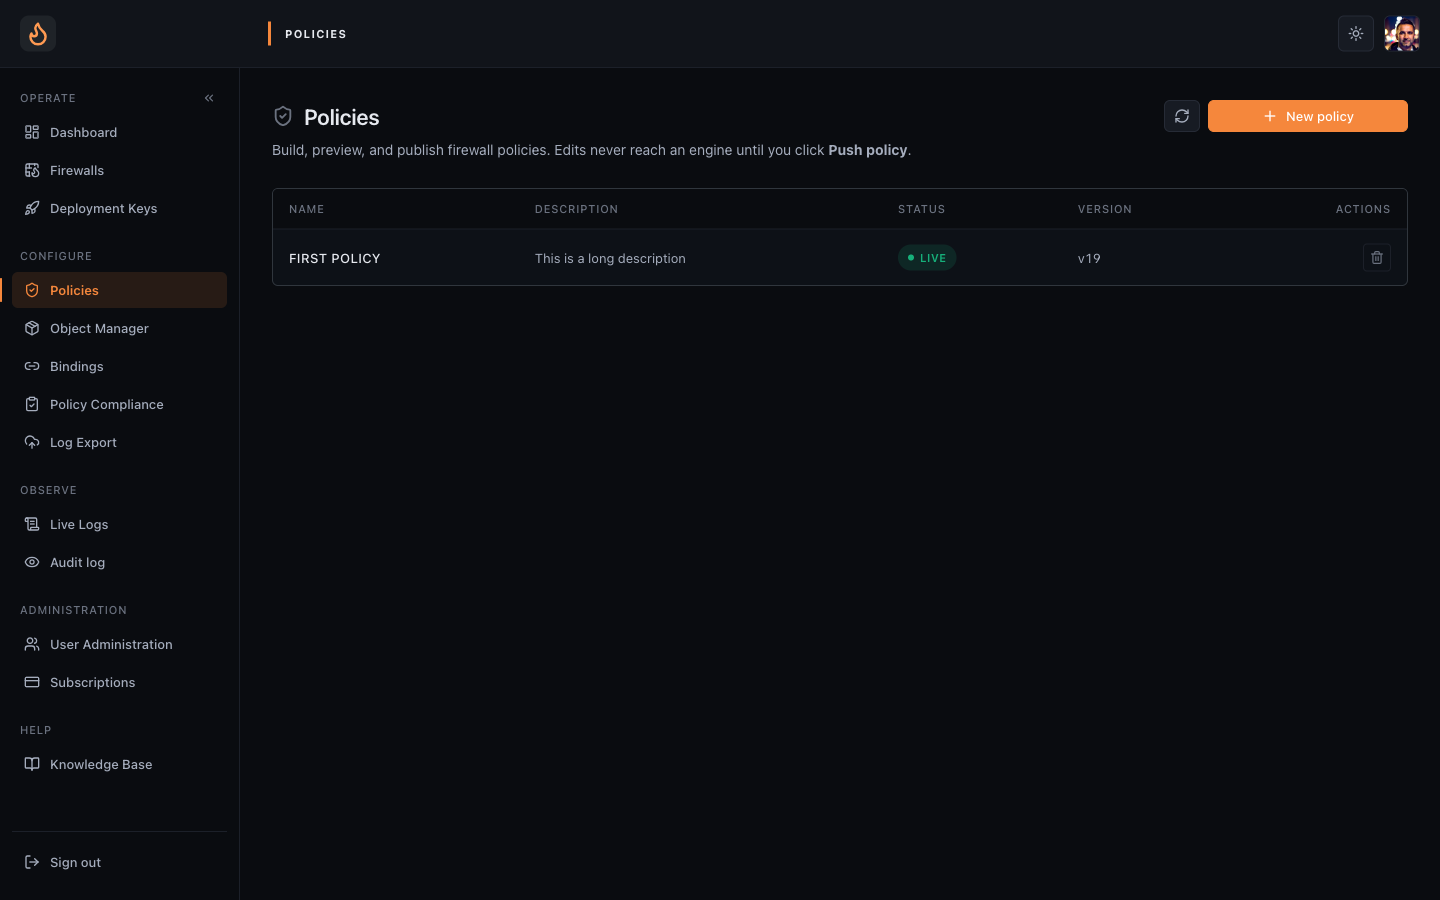 Policies — every policy in the tenant, with status and version.
1. Create the policy shell
Section titled “1. Create the policy shell”- Sidebar → Policies → New policy.
- Name it
fleet-default(or whatever you’ll bind broadly). Description optional. - Default action: drop. The fail-closed posture — if no rule matches, the packet drops.
- Create.
2. Allow the engine to reach its dependencies
Section titled “2. Allow the engine to reach its dependencies”Add a few rules to the from-firewall section so the engine itself can talk
out — DNS, NTP, package updates. Without these the engine still runs (everything
it needs to reach the Enforza cloud bypasses policy by design), but
operating-system services on the VM start failing.
- Open the from-firewall section.
- Add rule:
- Comment:
dns - Destination:
any - Protocol:
udp/tcp - Port:
53 - Action: Accept
- Comment:
- Add another for NTP (UDP 123) and another for HTTPS egress (TCP 443).
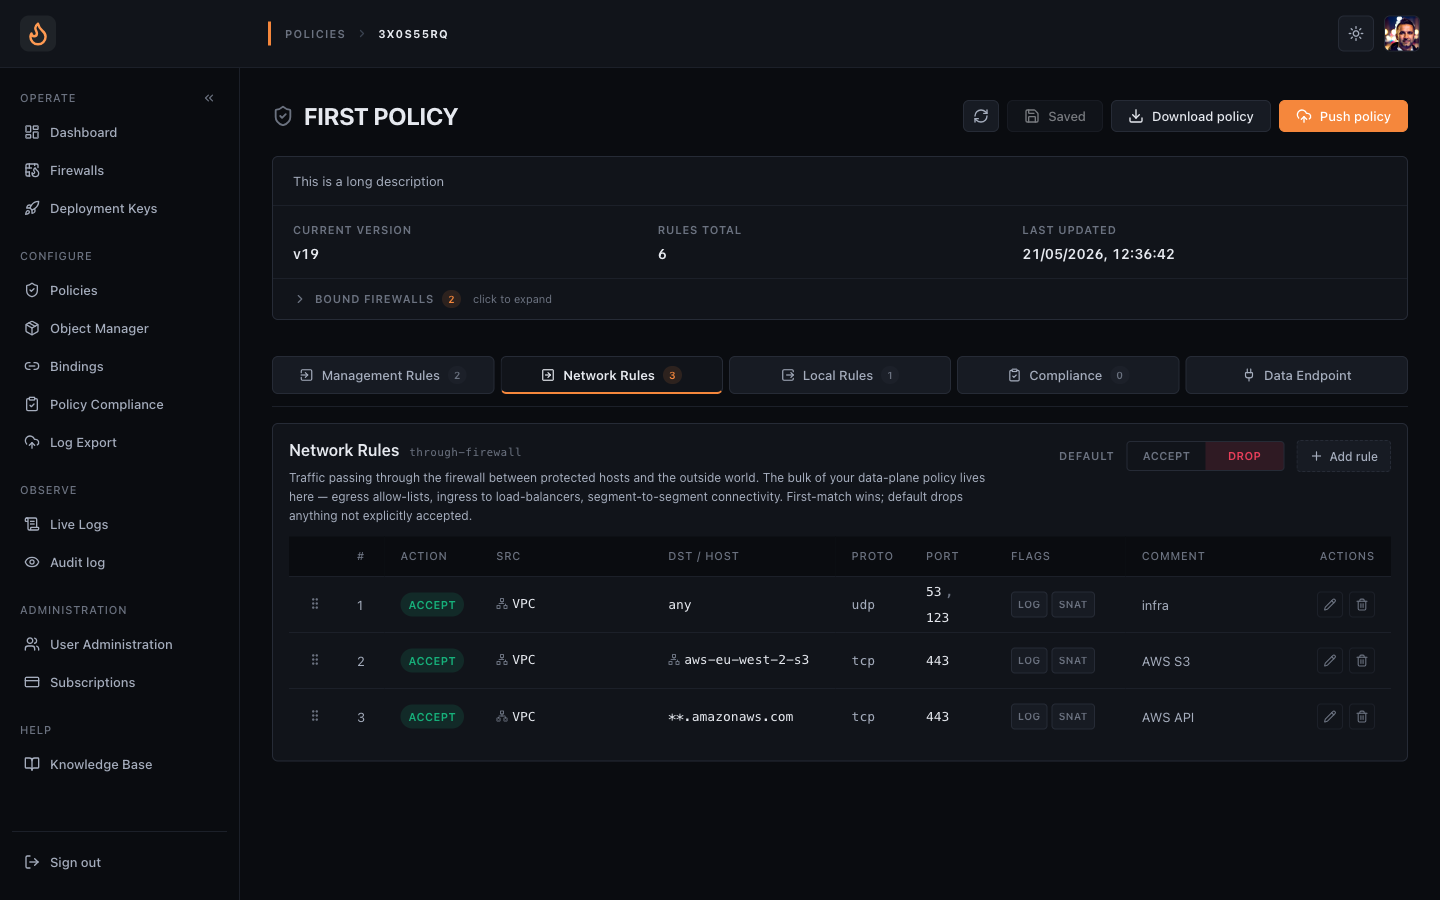 Policy editor — three sections, drag-to-reorder rules, first-match wins.
3. Add a couple of through-firewall rules
Section titled “3. Add a couple of through-firewall rules”These are the rules that actually inspect customer traffic. Start permissive while you confirm the policy works, then tighten.
- Open the through-firewall section.
- Add rule — allow generic web egress:
- Comment:
web egress - Source:
any(or your protected subnet’s CIDR) - Destination:
any - Protocol:
tcp, port443 - Action: Accept
- Comment:
- Add rule — block SSH from anywhere:
- Comment:
block inbound ssh - Source:
any - Destination:
any - Protocol:
tcp, port22 - Action: Drop, with Log ticked so you can see attempts in live logs.
- Comment:
- Save.
4. (Optional) Attach a guardrail set
Section titled “4. (Optional) Attach a guardrail set”On the policy’s Compliance tab you can attach one or more guardrail sets in advise (warn) or enforce (block-publish) mode. Skip this for the first push if you don’t have a set yet — you can add it later.
5. Push the policy
Section titled “5. Push the policy”- From the policy editor, click Push.
- The publish dialog runs two preflight checks:
- Firewall Policy Schema — validates the rendered policy against the engine’s schema.
- Guardrails — runs your attached compliance sets. Enforce violations block here.
- The dialog shows your bound firewalls (none yet — that’s the next step) and the rendered policy in a collapsed accordion.
- Click Confirm push. The policy ring buffer keeps the last 20 versions; you can roll back any time.
What just happened
Section titled “What just happened”- Your structured policy was rendered to the engine’s canonical form.
- The schema validator + guardrails ran in the cloud — engines never see invalid policy.
- A new version row landed in the policy’s history (visible on the policy’s Versions tab).
- Bound engines (you have none yet — that’s next) would have started fetching the new version within seconds.
Next: Bind a policy to a firewall.