Create & Push a Policy
Follow these steps to create and push a network firewall policy to your device.
1. Login to the enforza portal
Open a browser and click here.
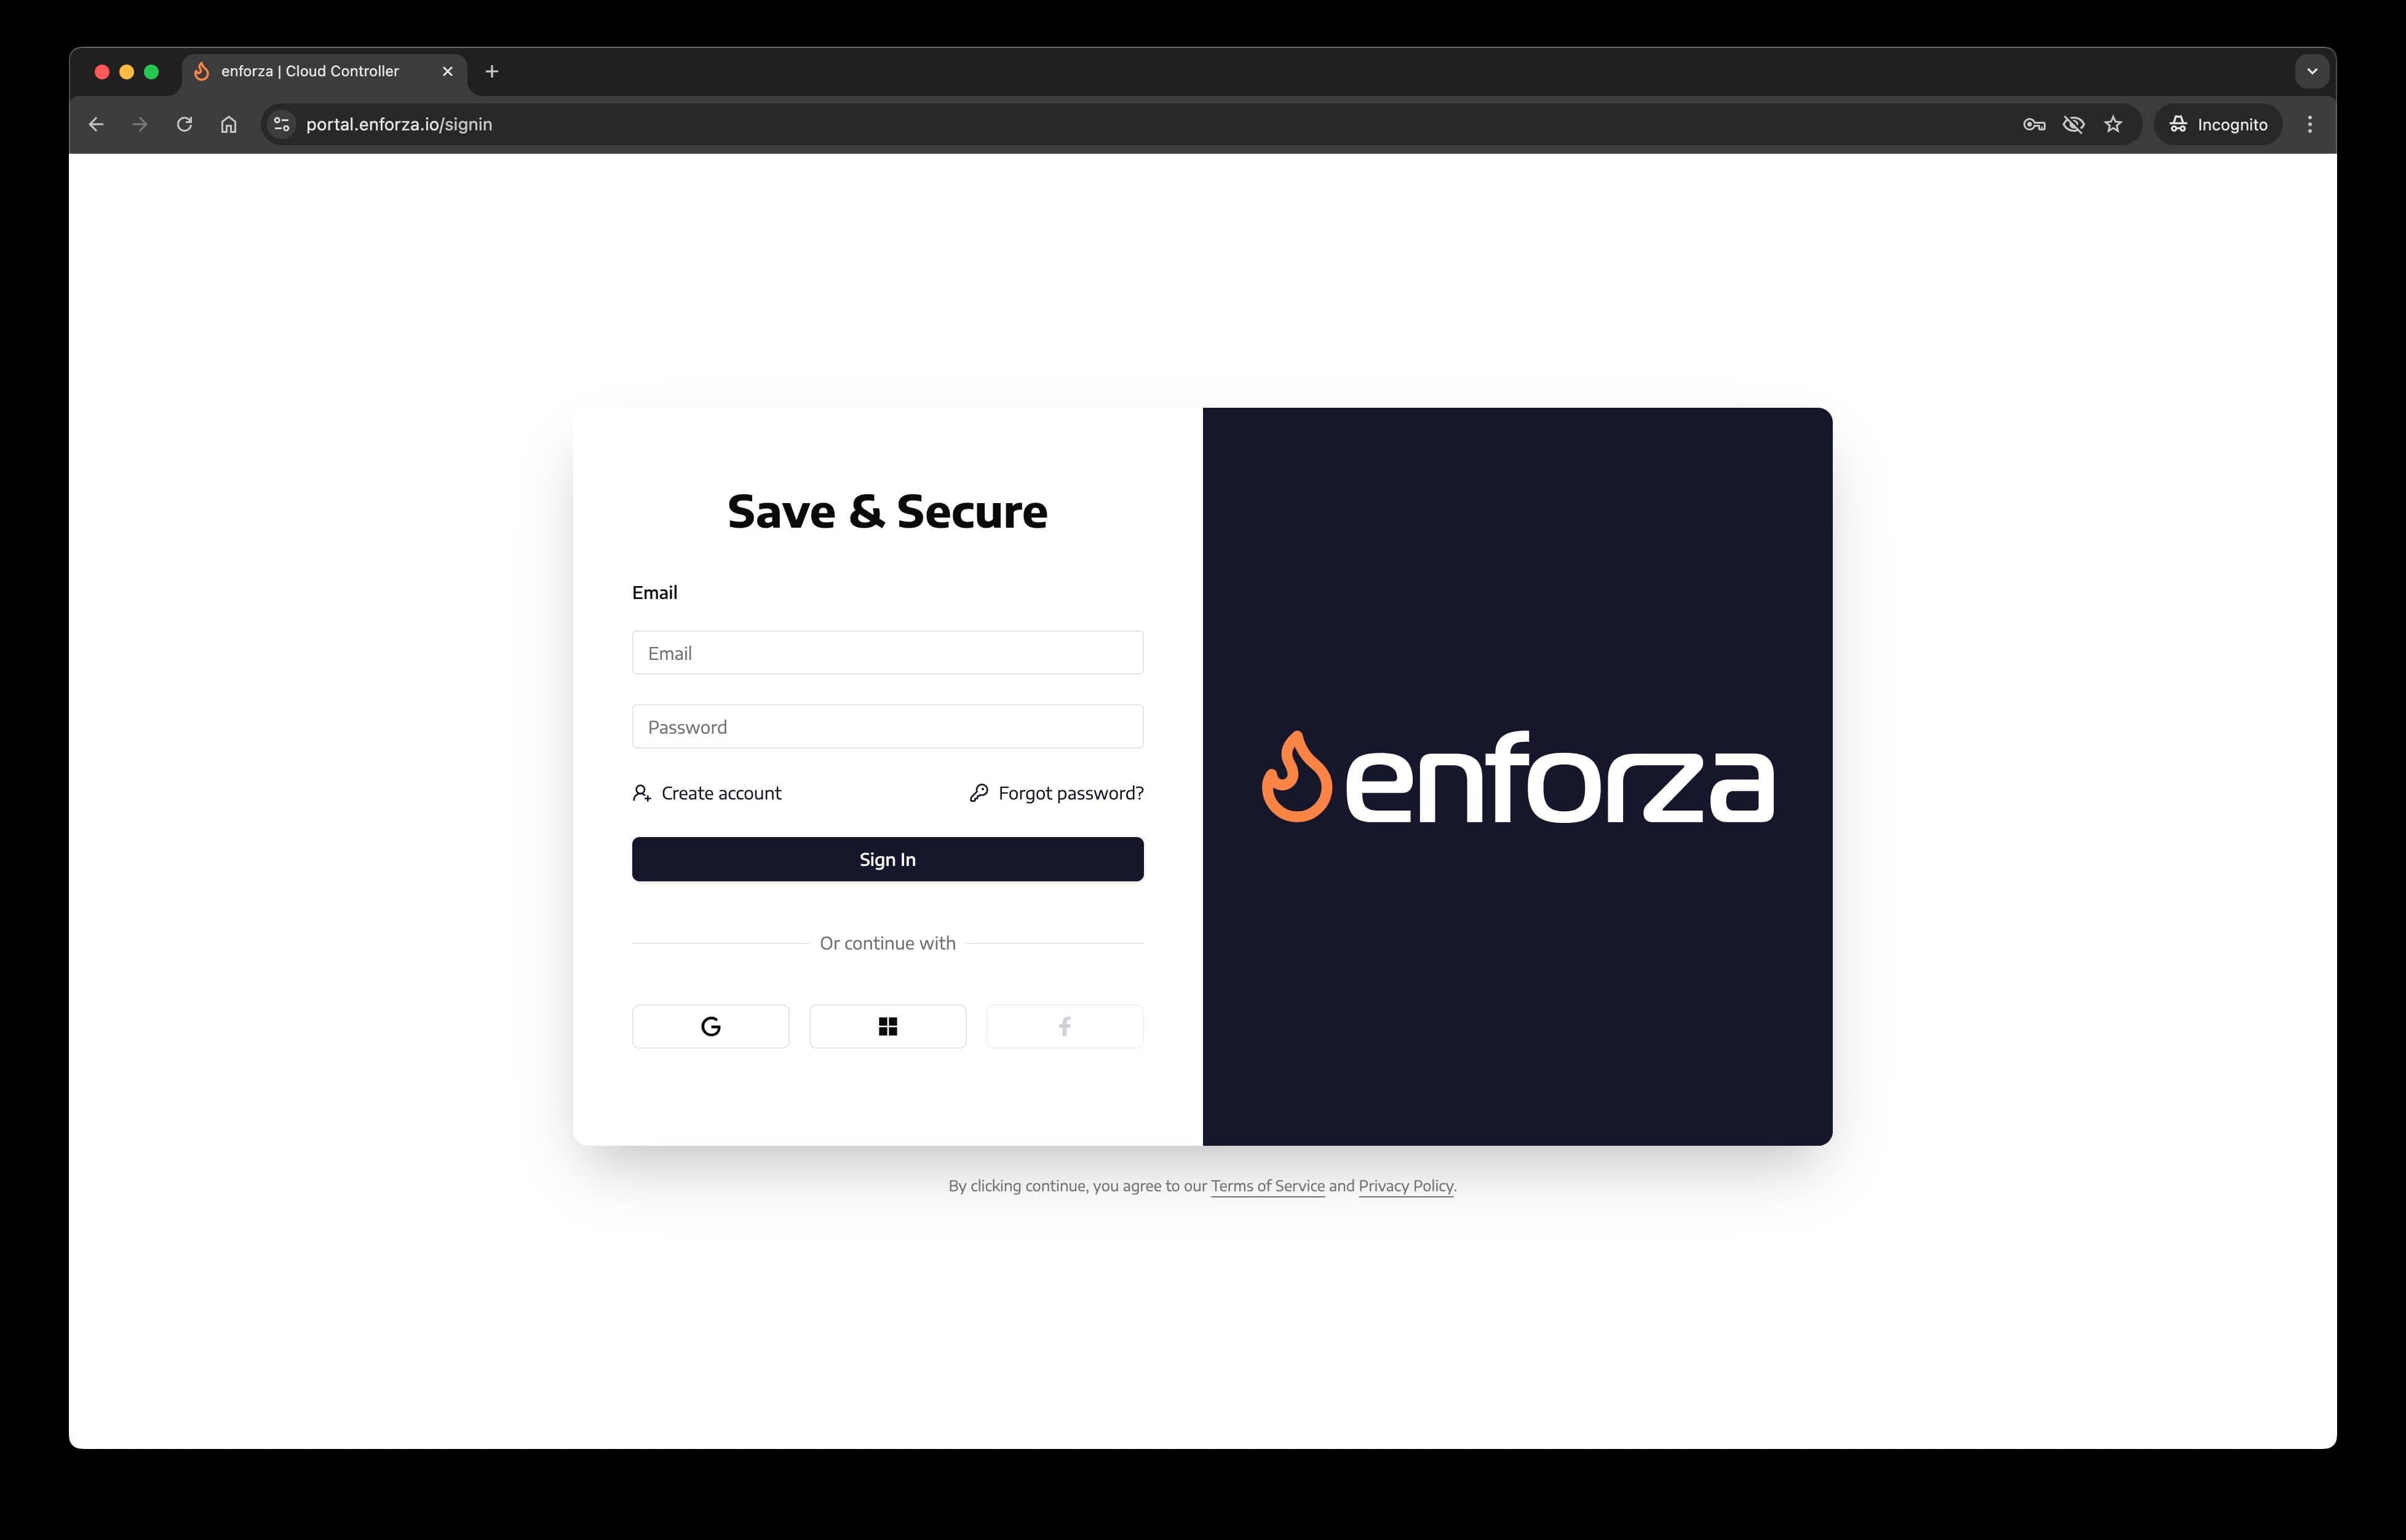
2. On the dashboard click "Policies" from the menu
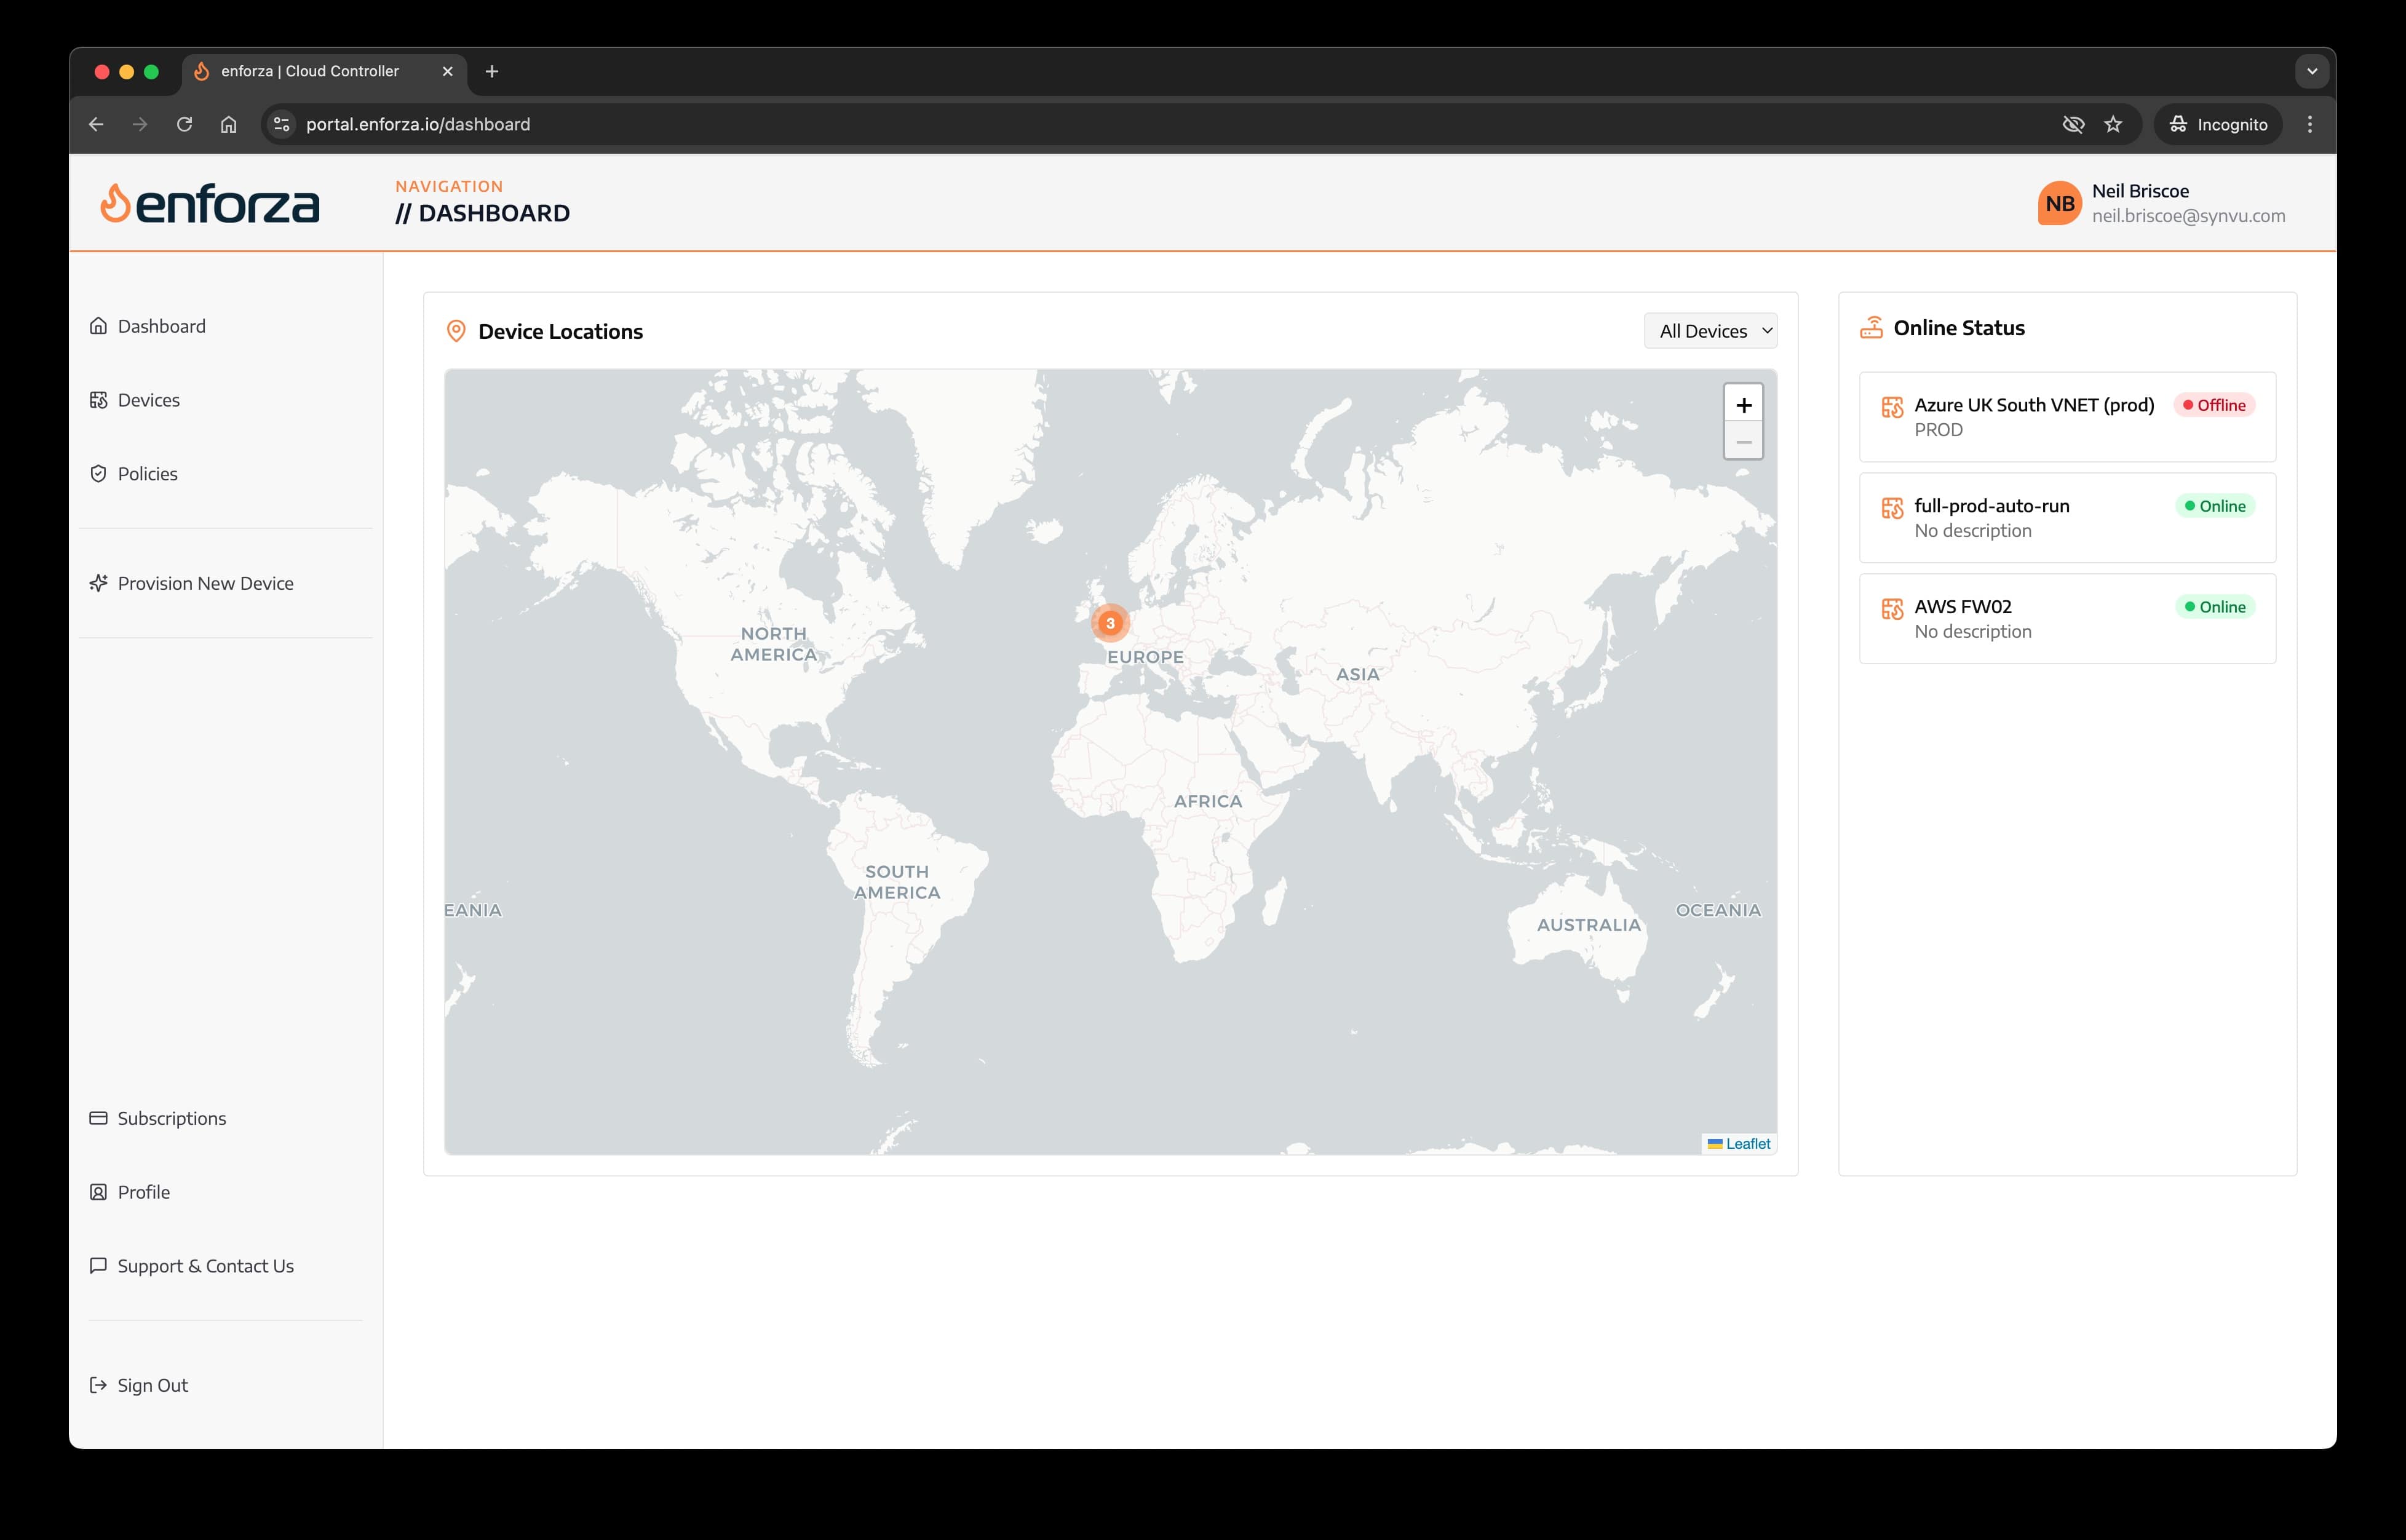
3. From the Policies page, click "Create Policy"
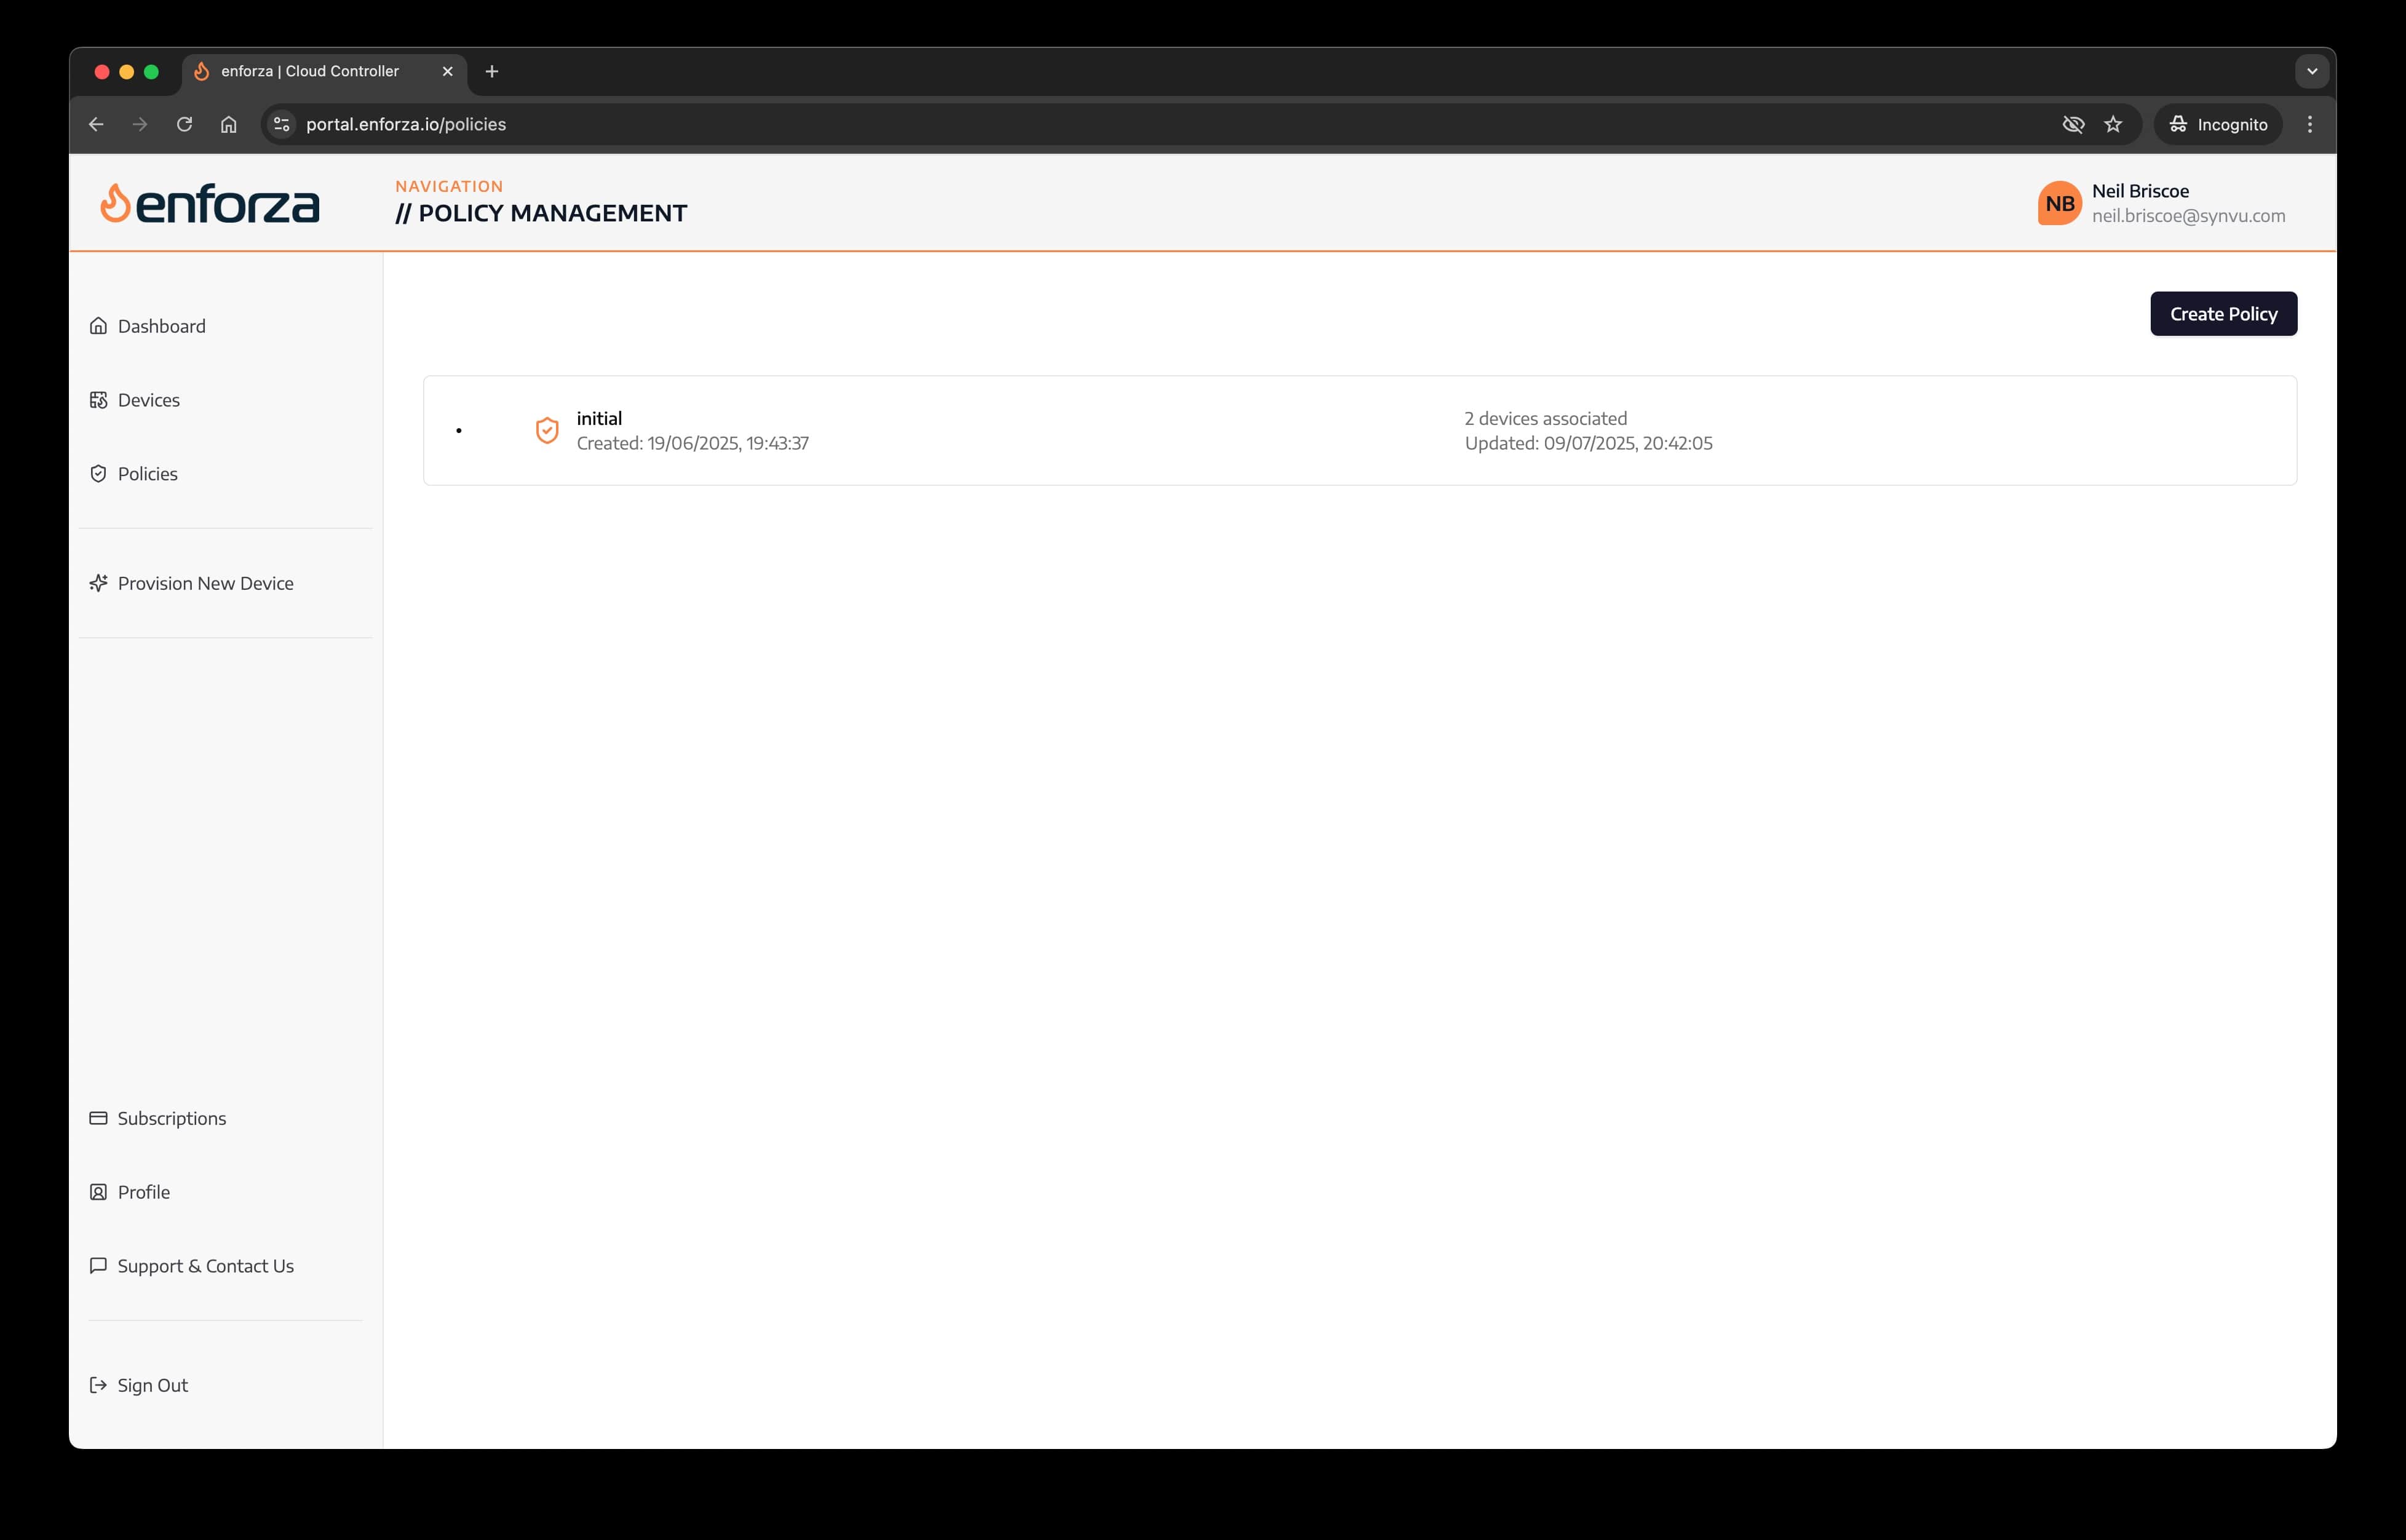
3. Give it a meanginful name
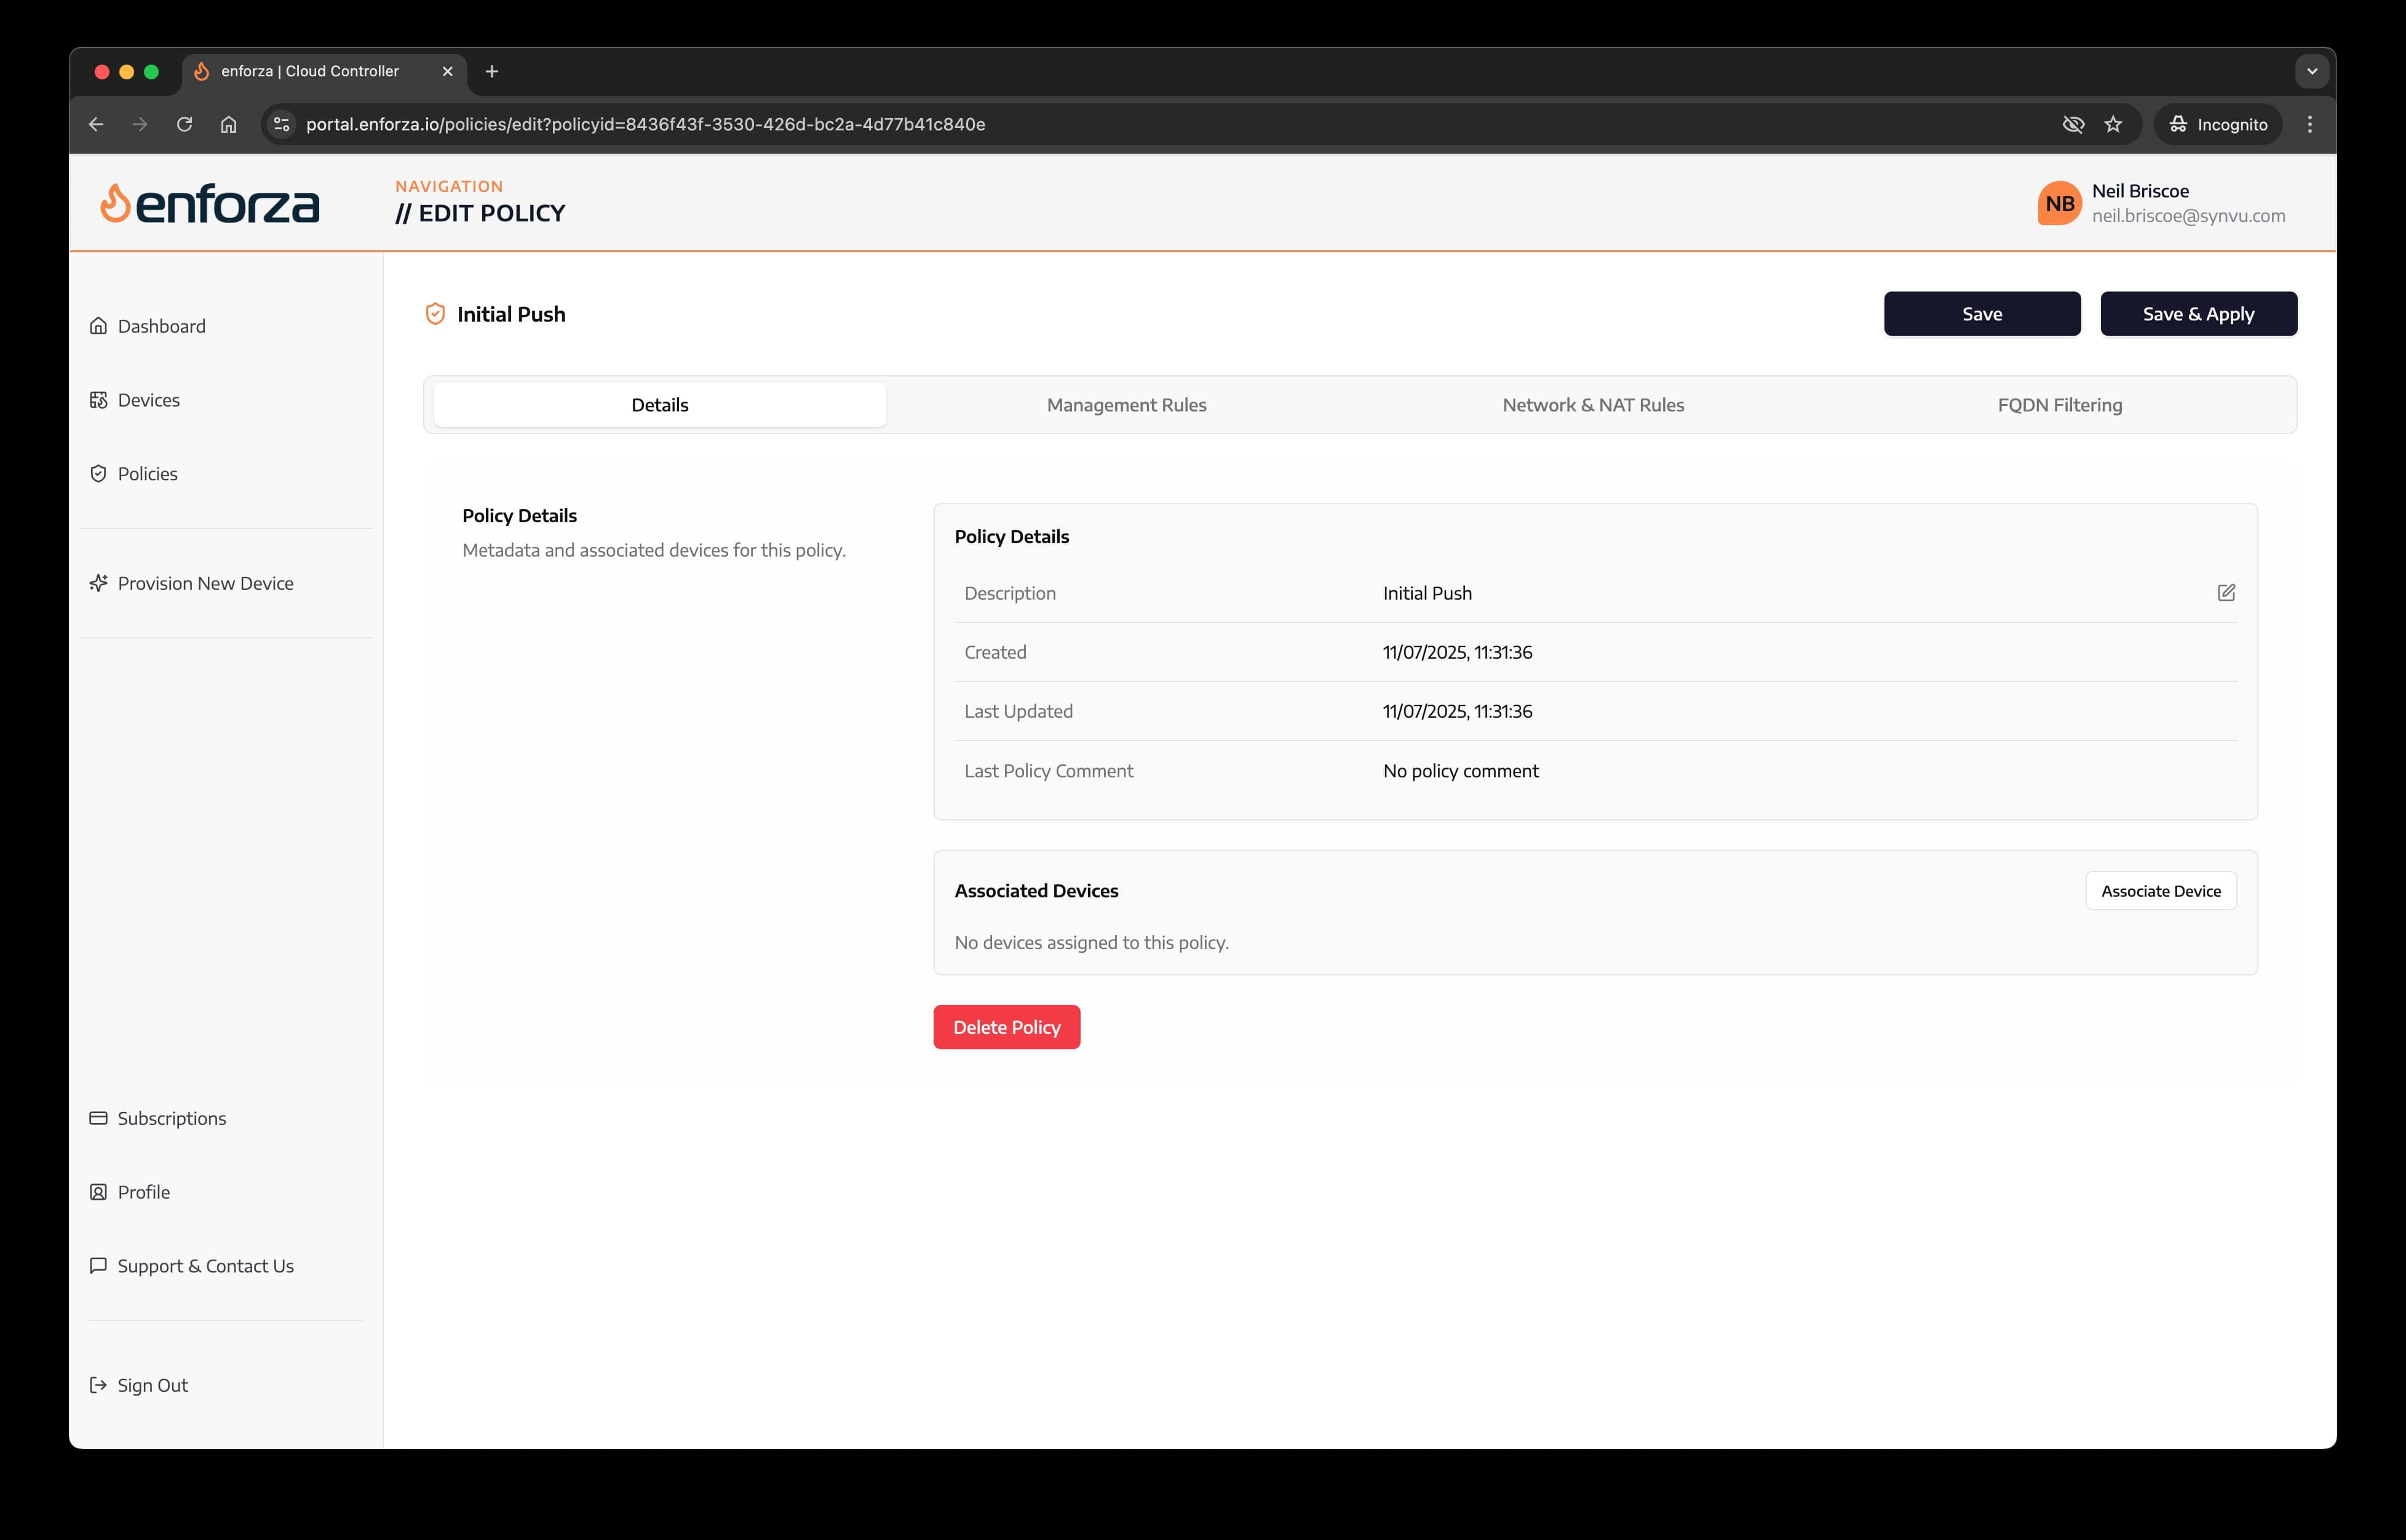
4. Policy details
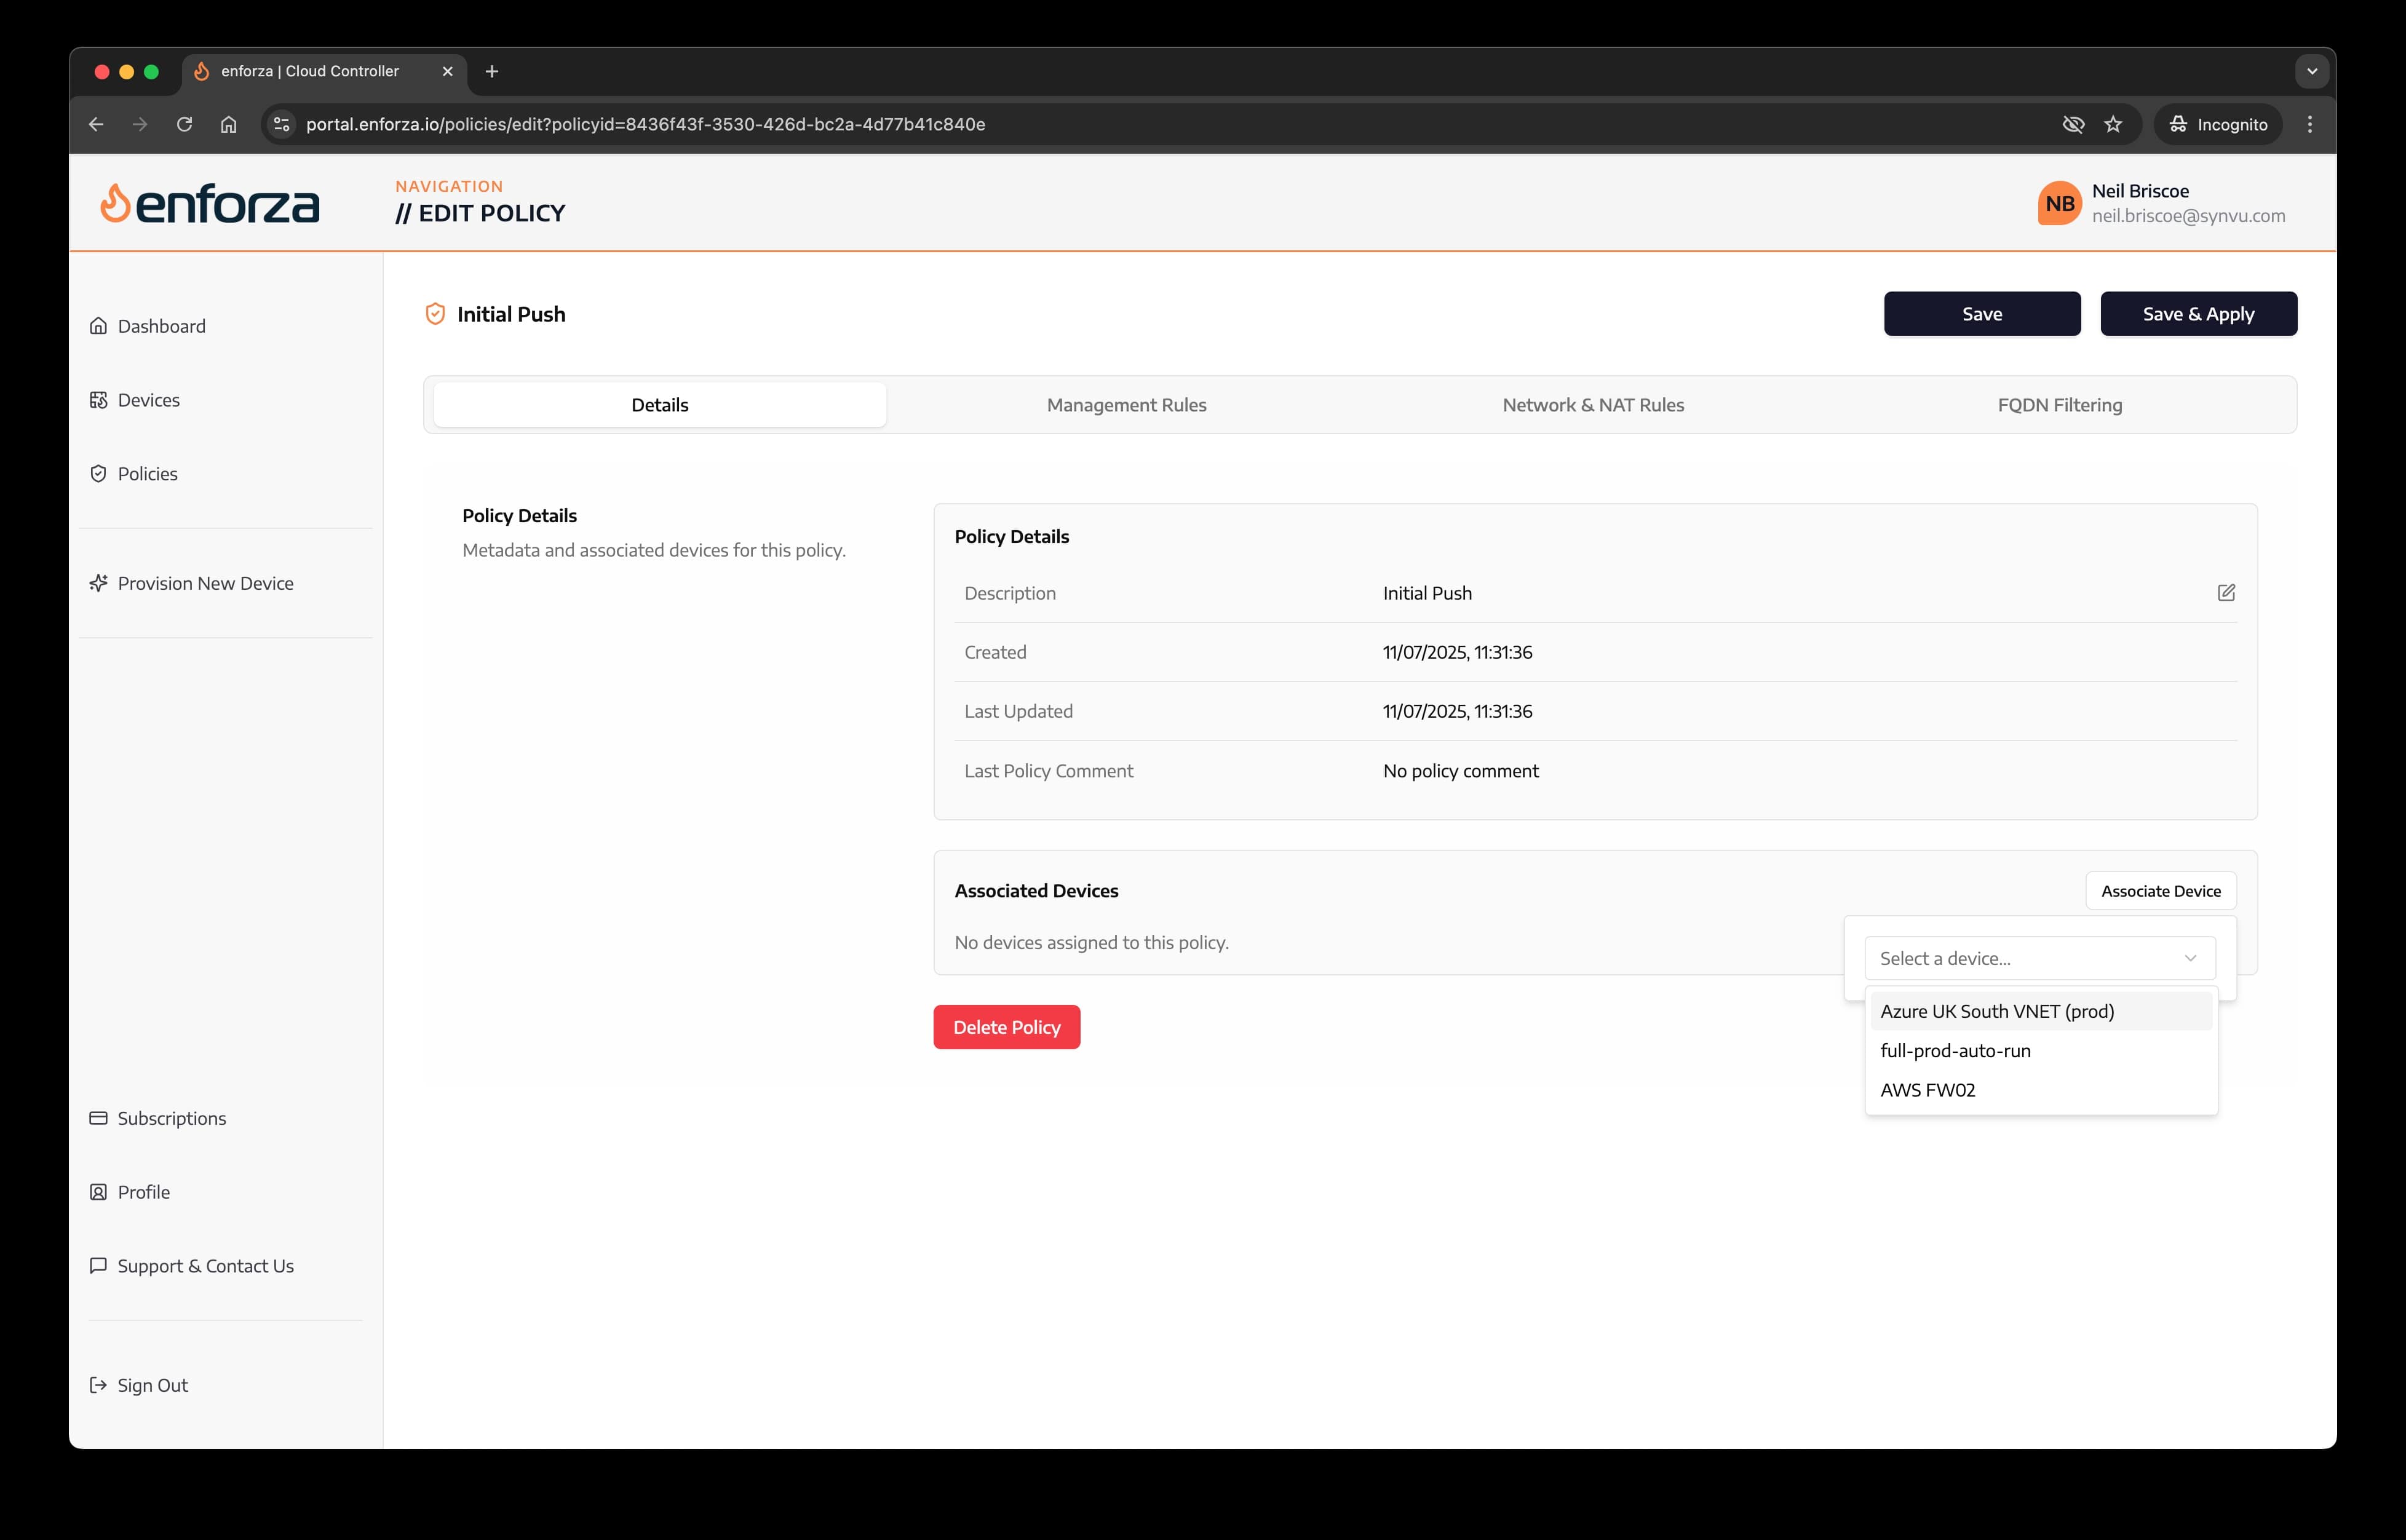
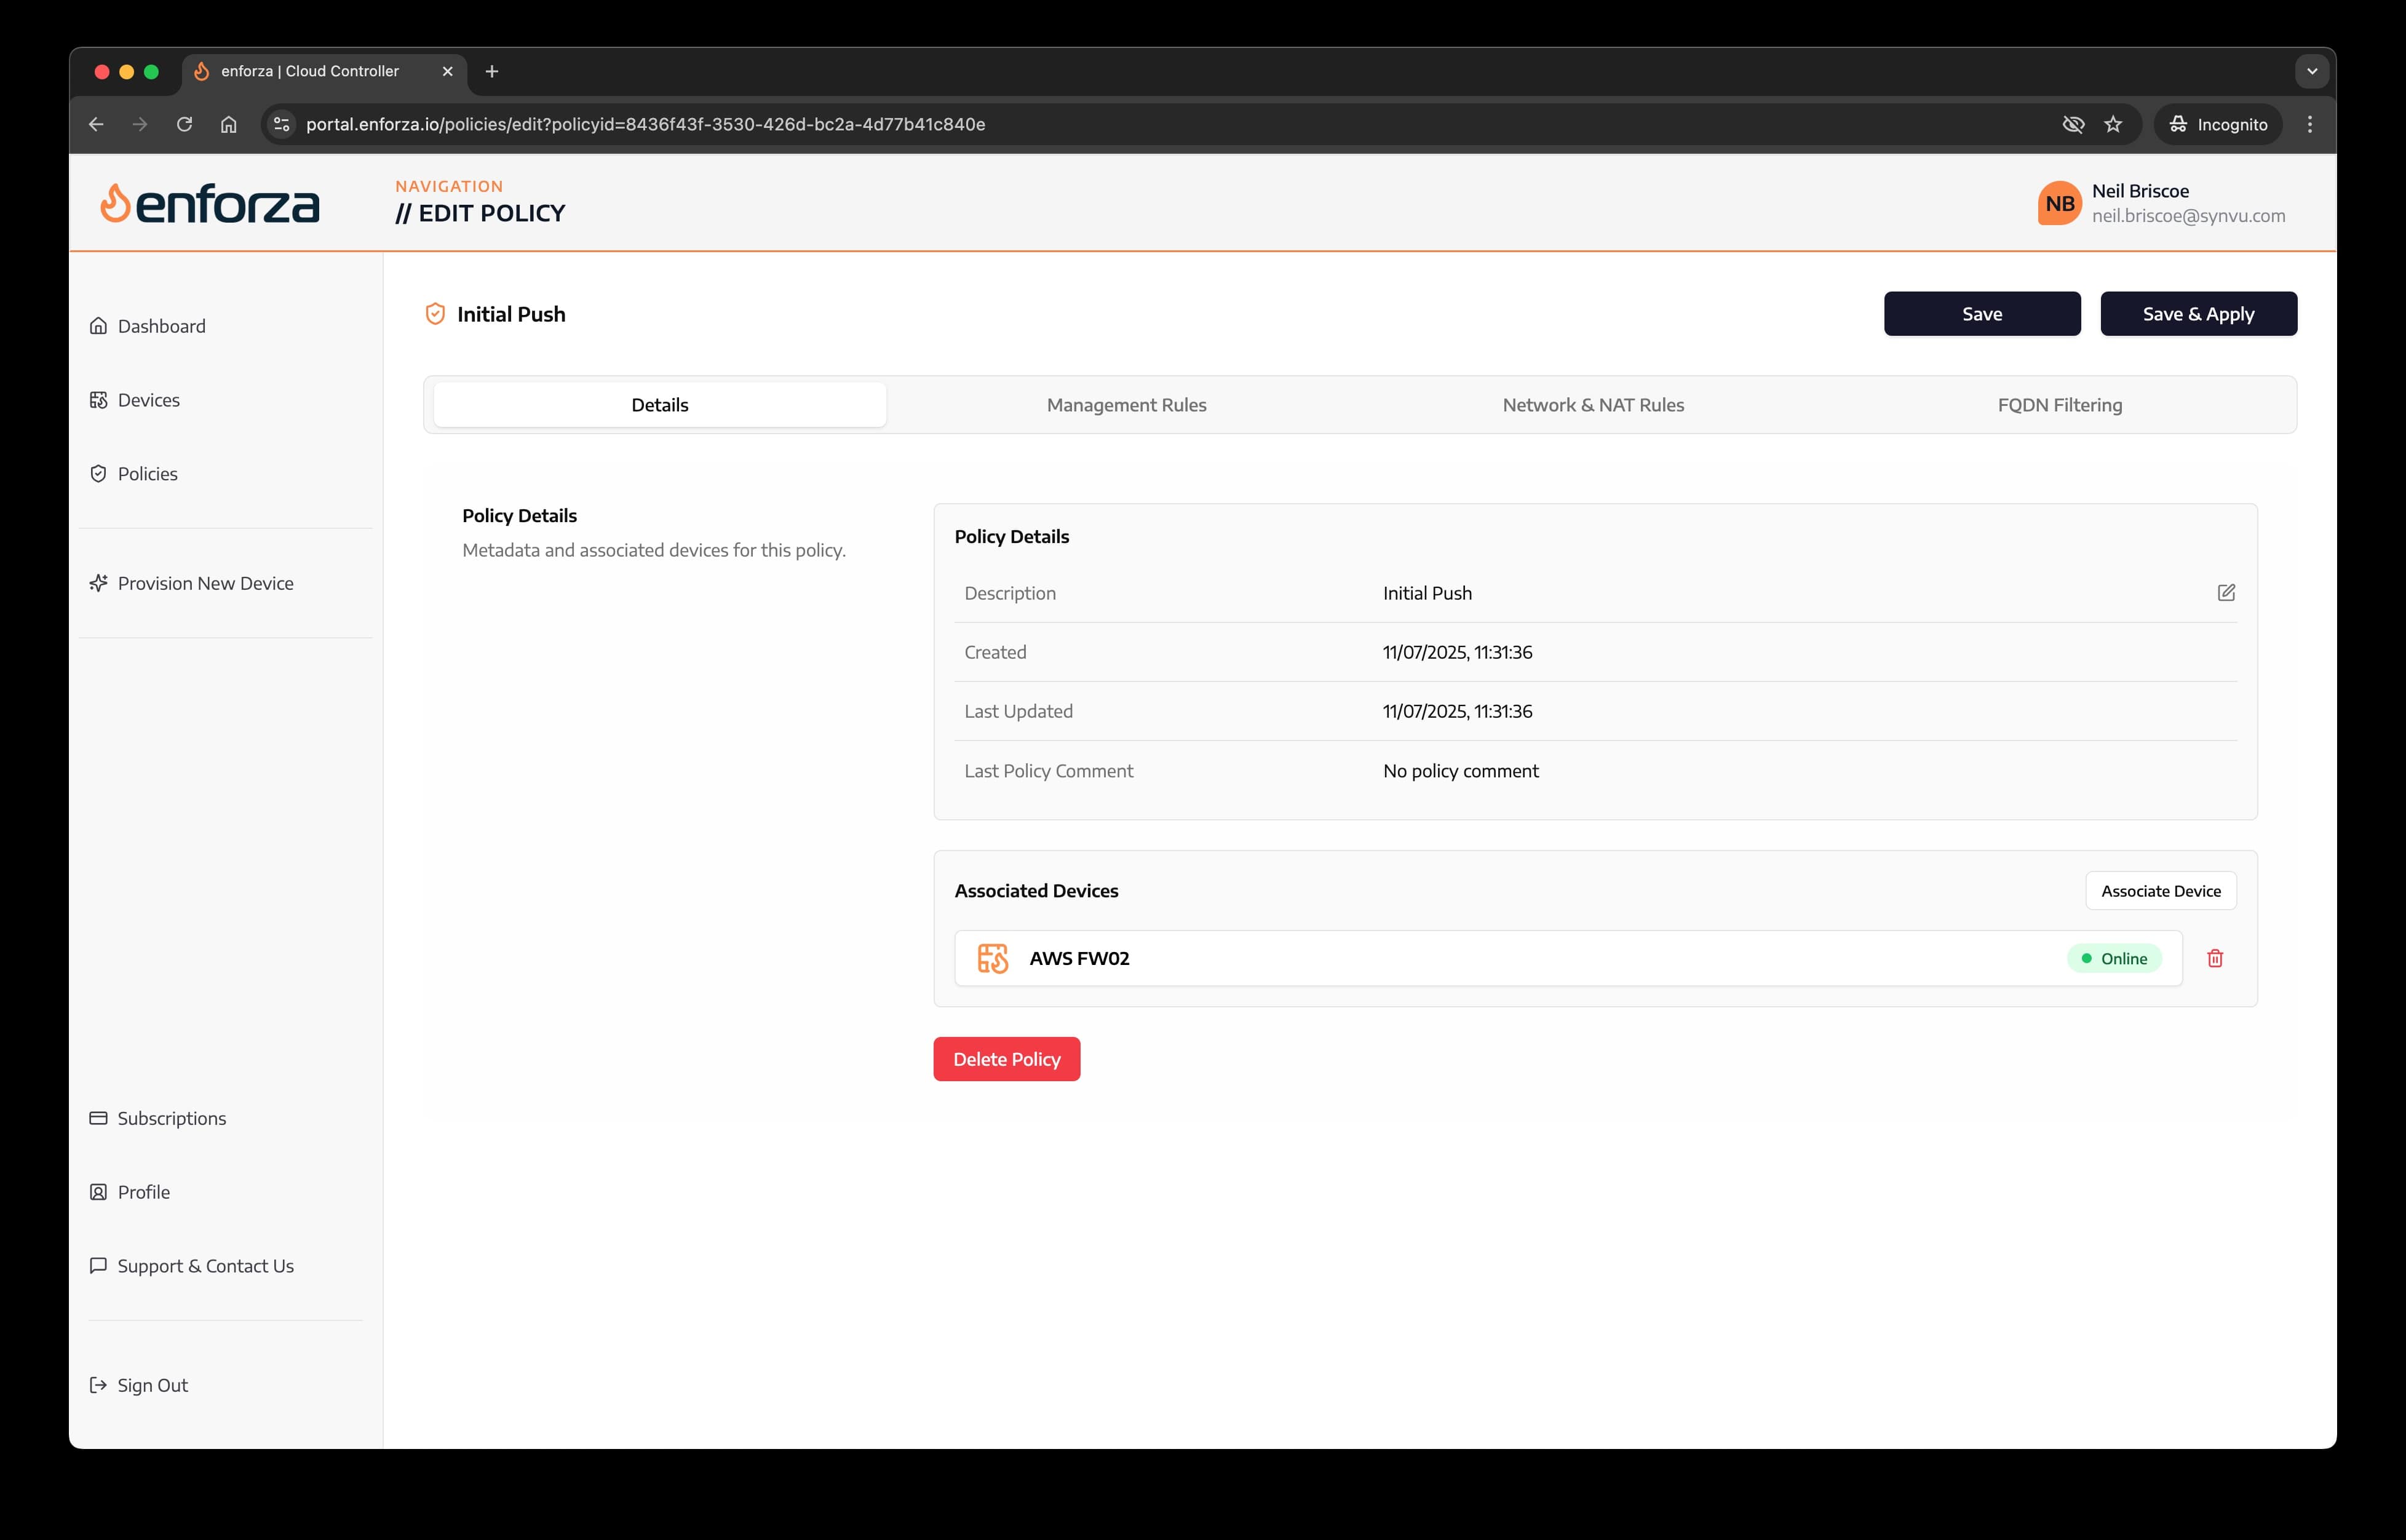
5. Associate device(s) to the policy
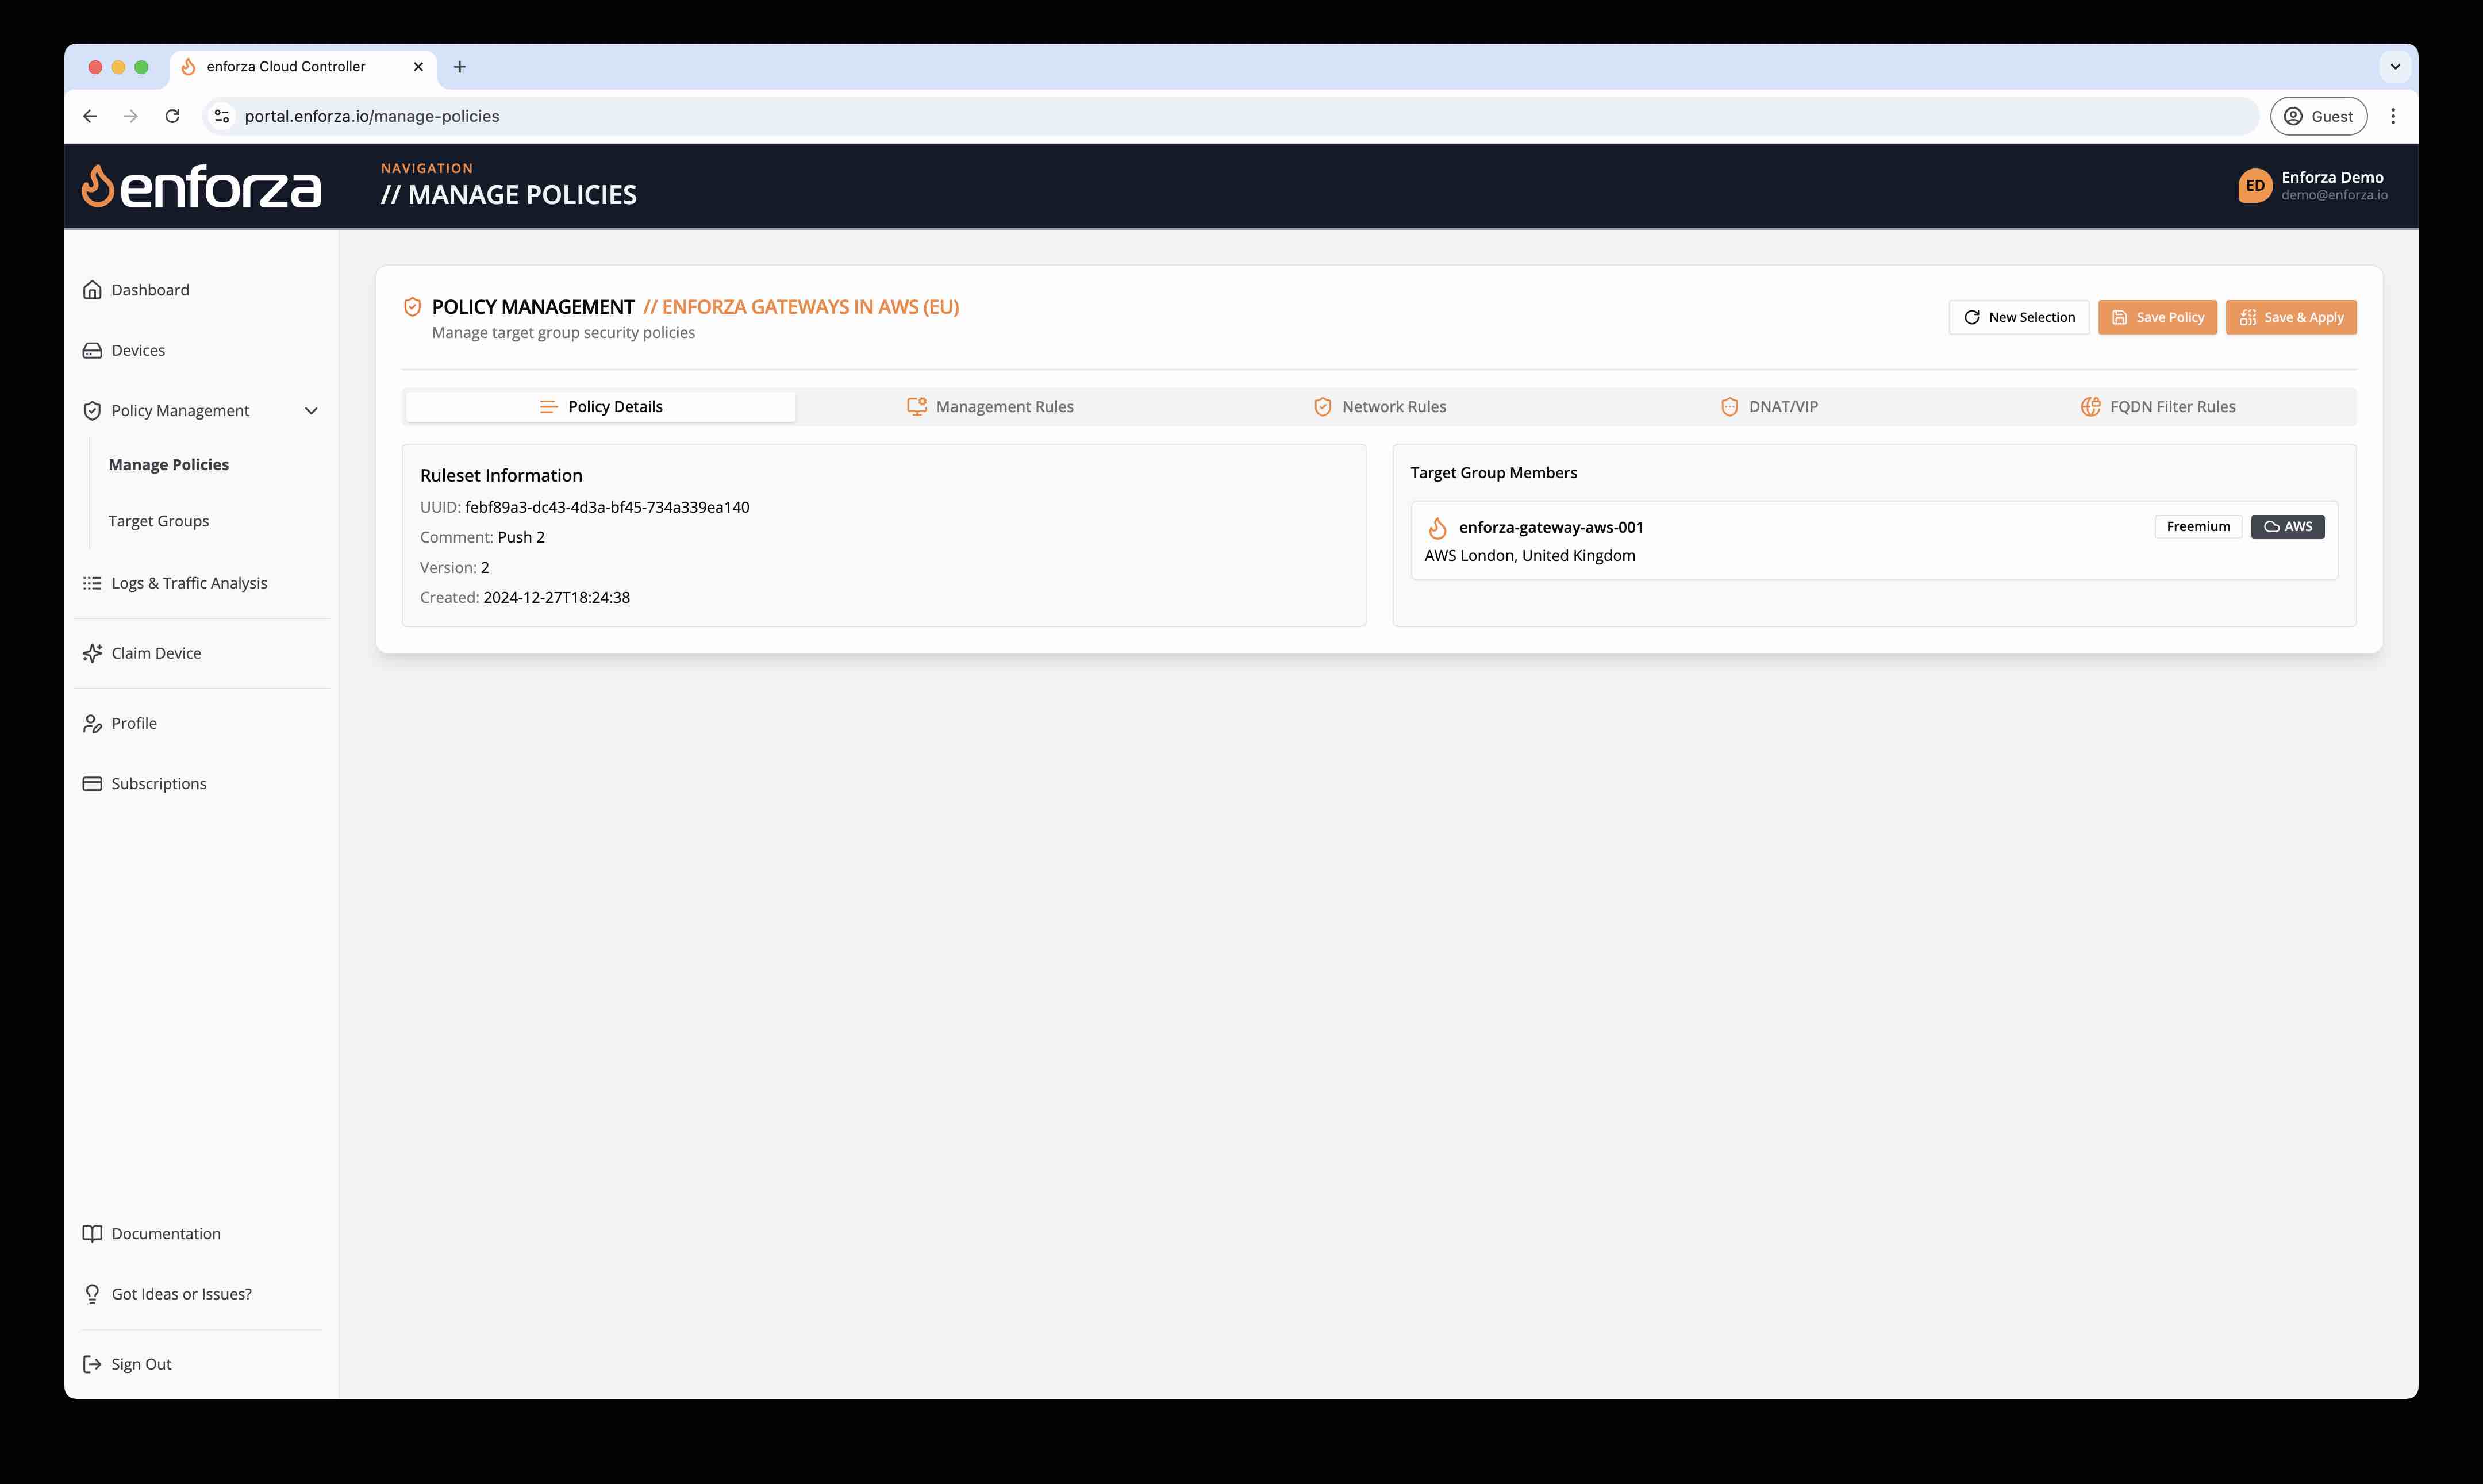
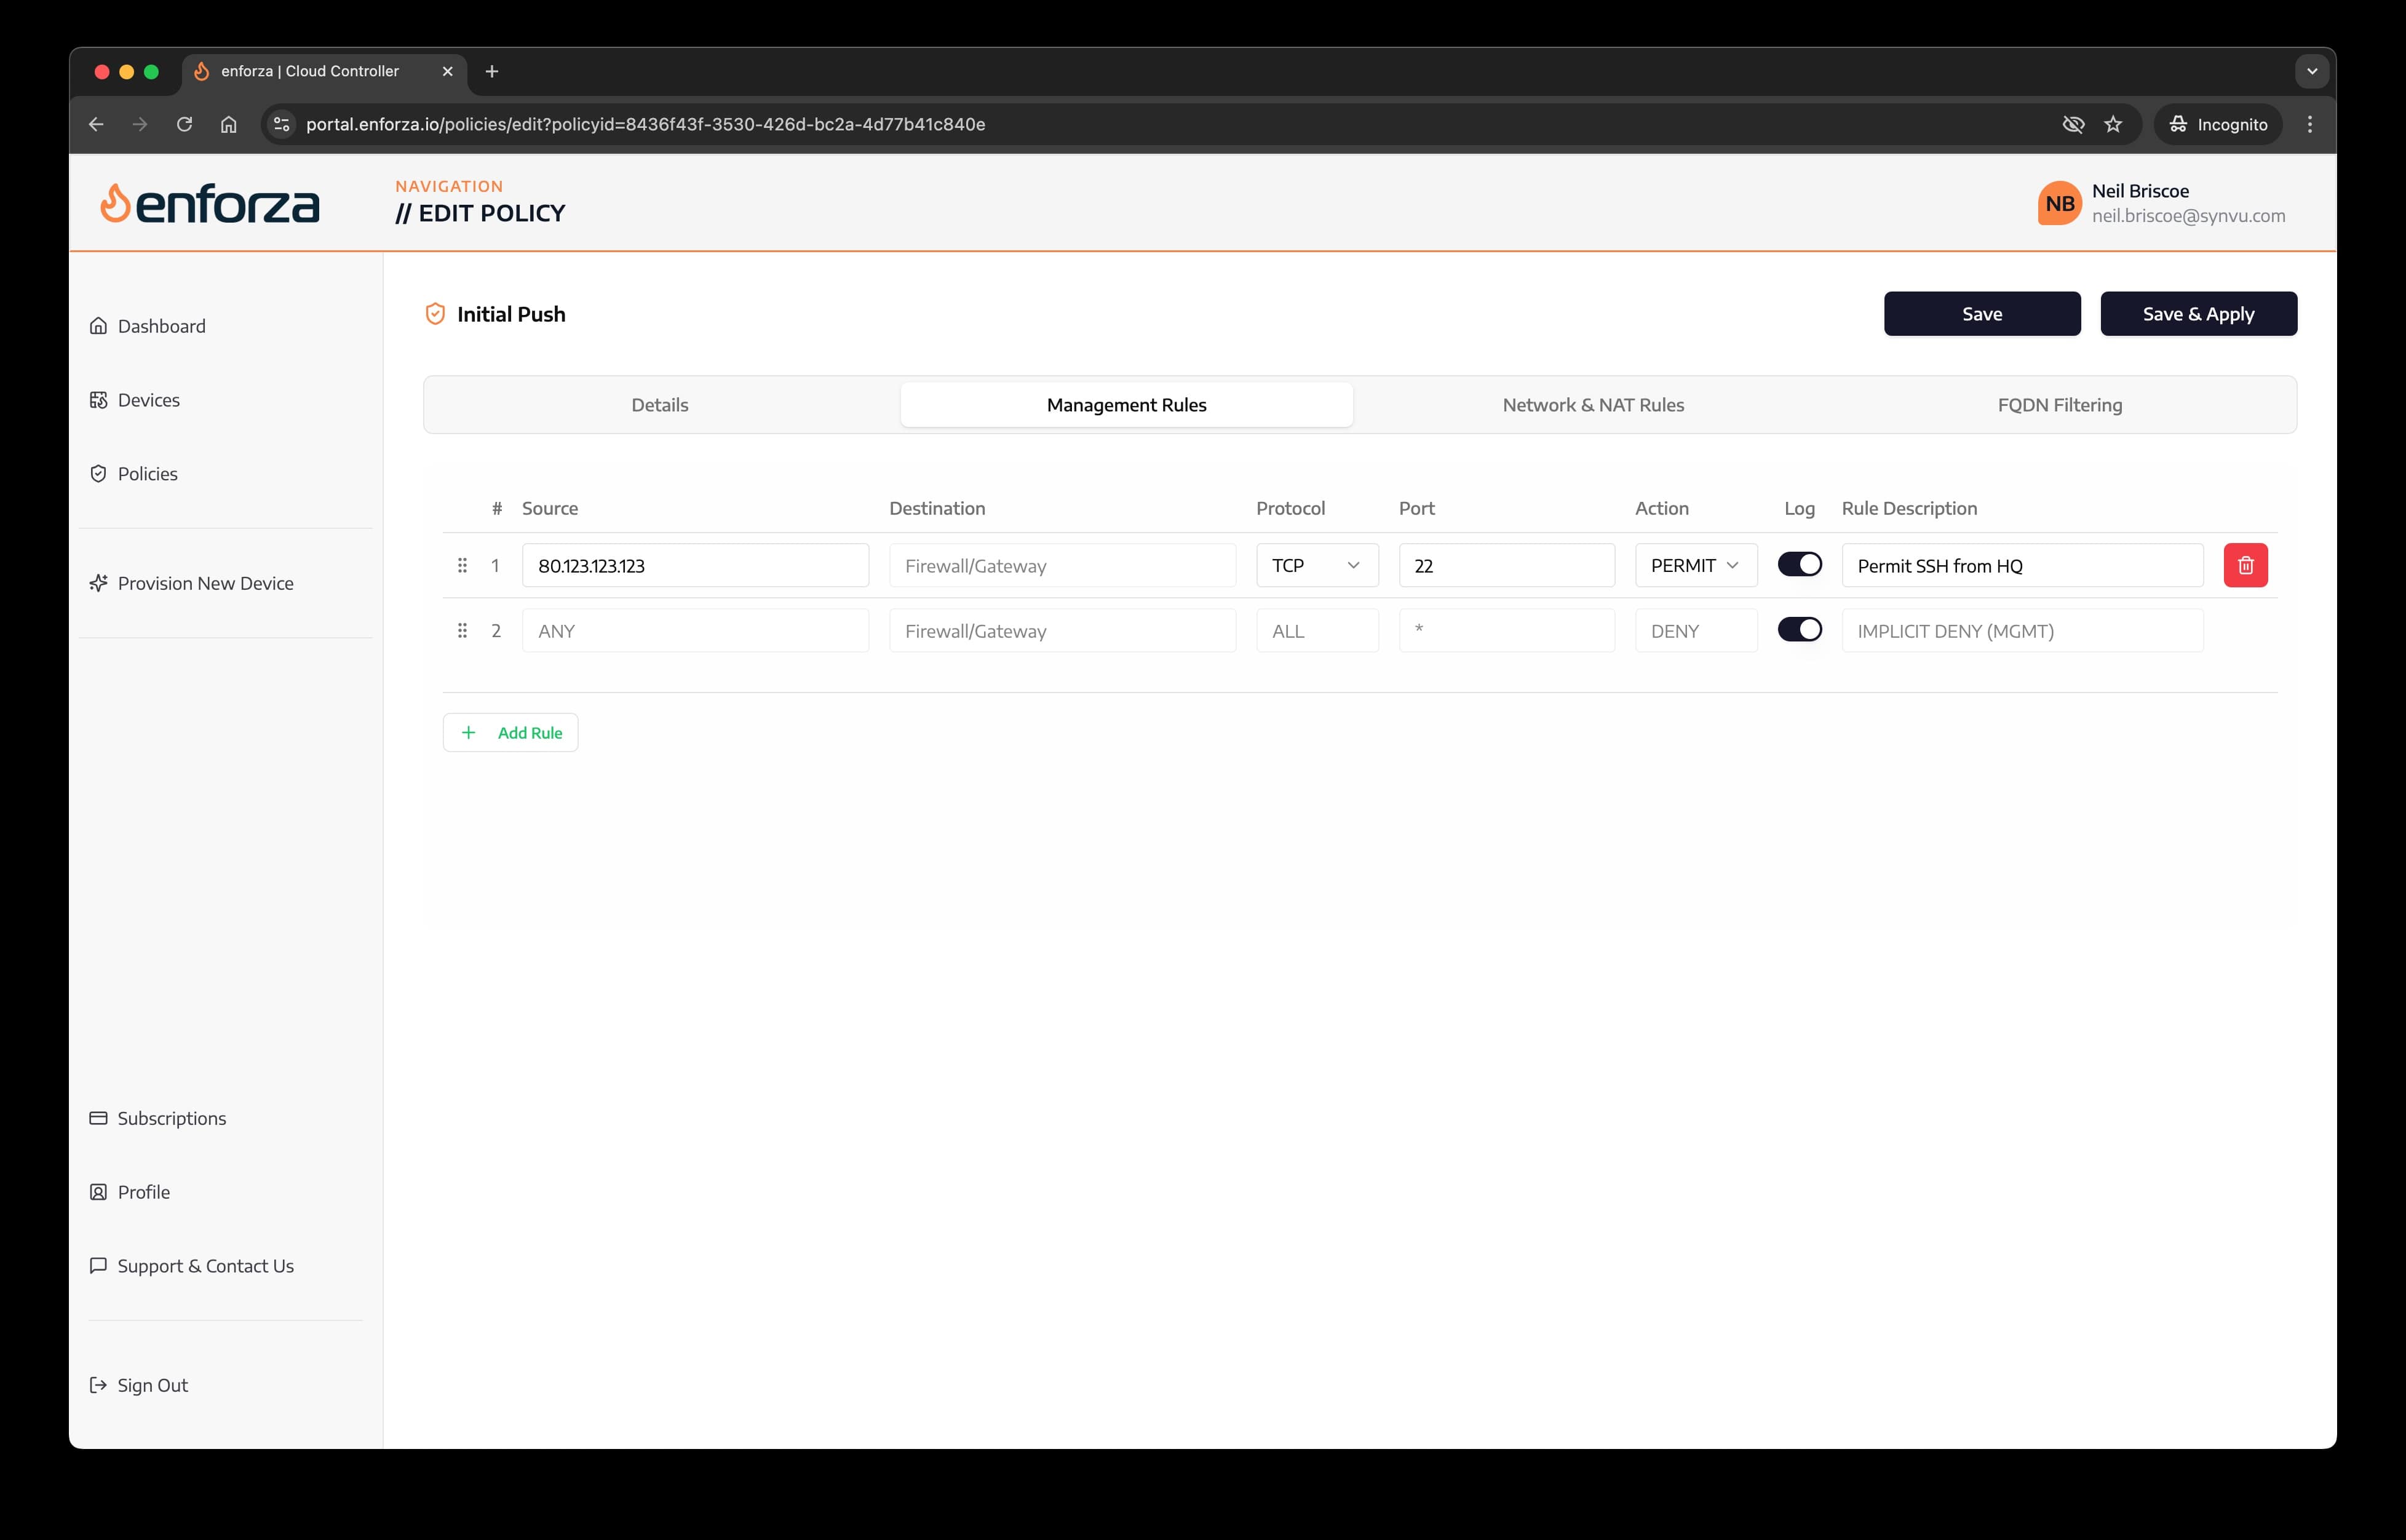
5. Management Rules
Management rules are to permit or deny traffic to the device itself. Use these rules to allow SSH connections etc from known trusted IP addresses like your HQ public IP ranges, zScaler IP ranges, internal management IP ranges (i.e. VPC/VNET peered).
Ensure that your Management Rules here do not contradict or override any rules set by the cloud platform (i.e. Security Groups, Network Security Groups, NACLs) or you may get unexpected results - for example, you permit SSH here, but you cannot access the device as the NSGs override these!
Platform configured SG/NSG/NACLs always take precedence.
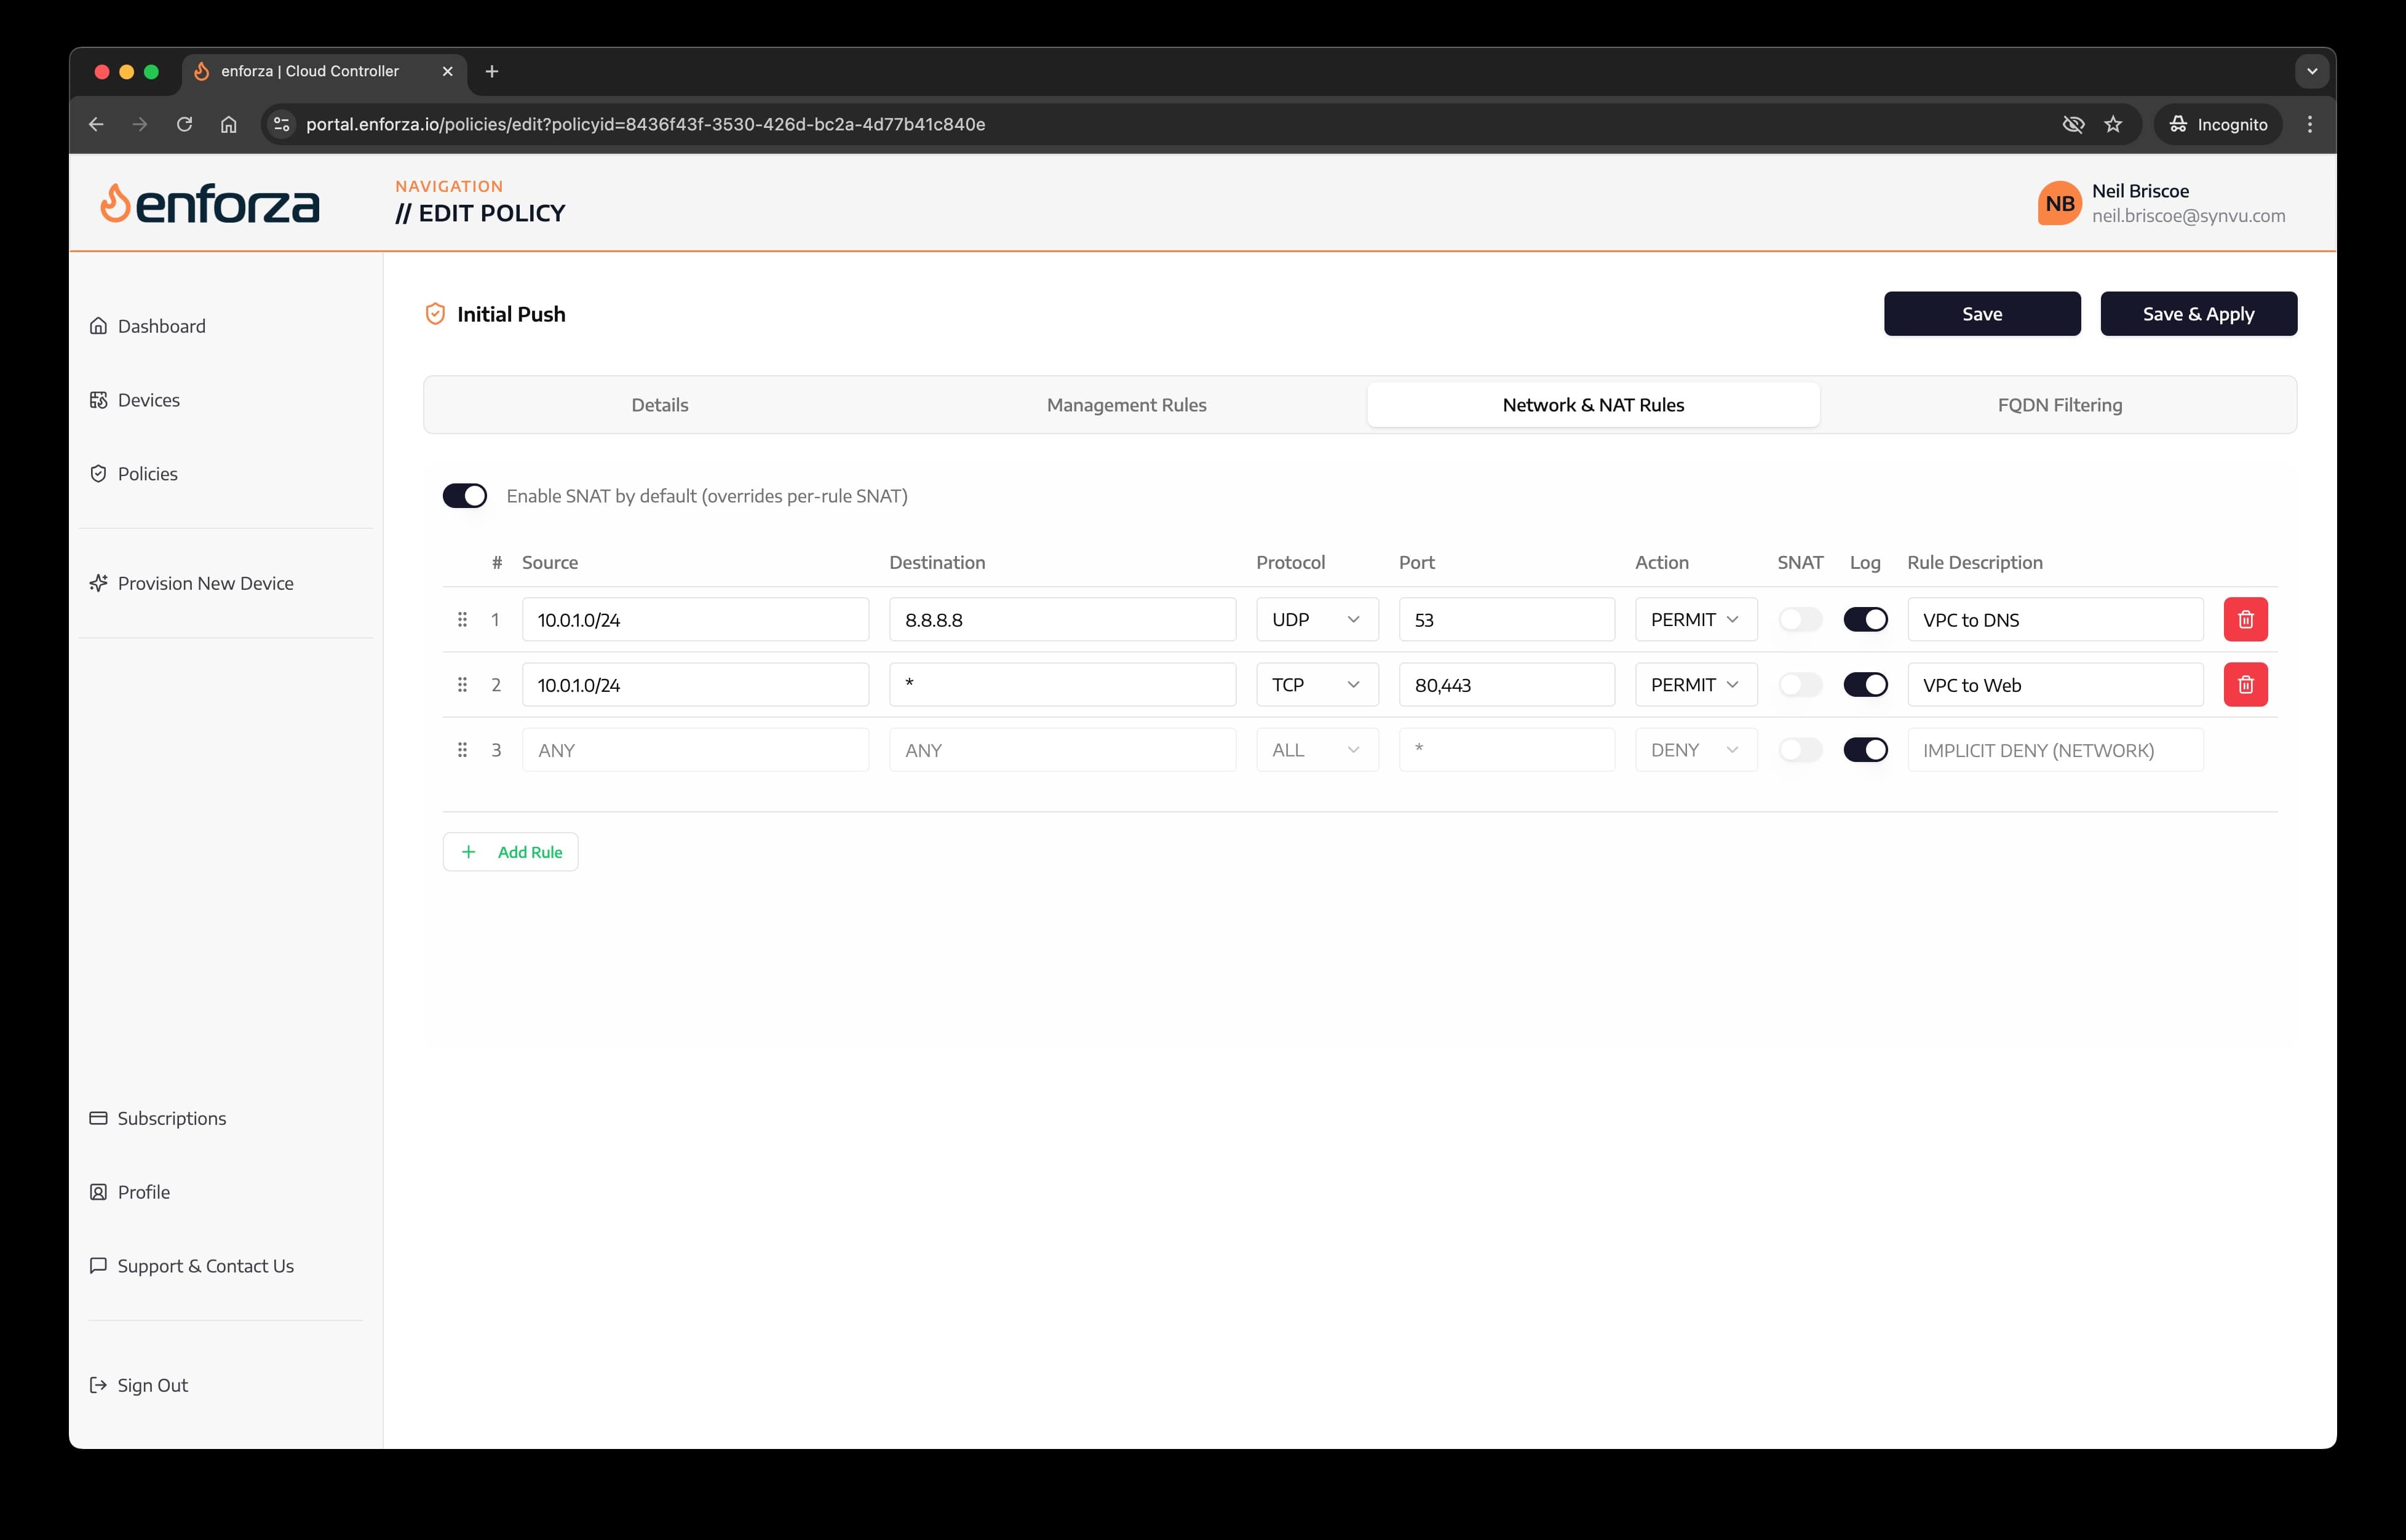
5. Network Rules
Network rules are to permit or deny traffic through the device from your users/servers to other locations i.e. other servers in your VNET/VPC (known as east/west or lateral traffic) or to the internet.
You can create your rules and selectively source NAT traffic on a per-rule basis. Use this if you need more control over NAT.
Alternatively, you can select "Enable Source NAT Globally" that will NAT all traffic outbound.
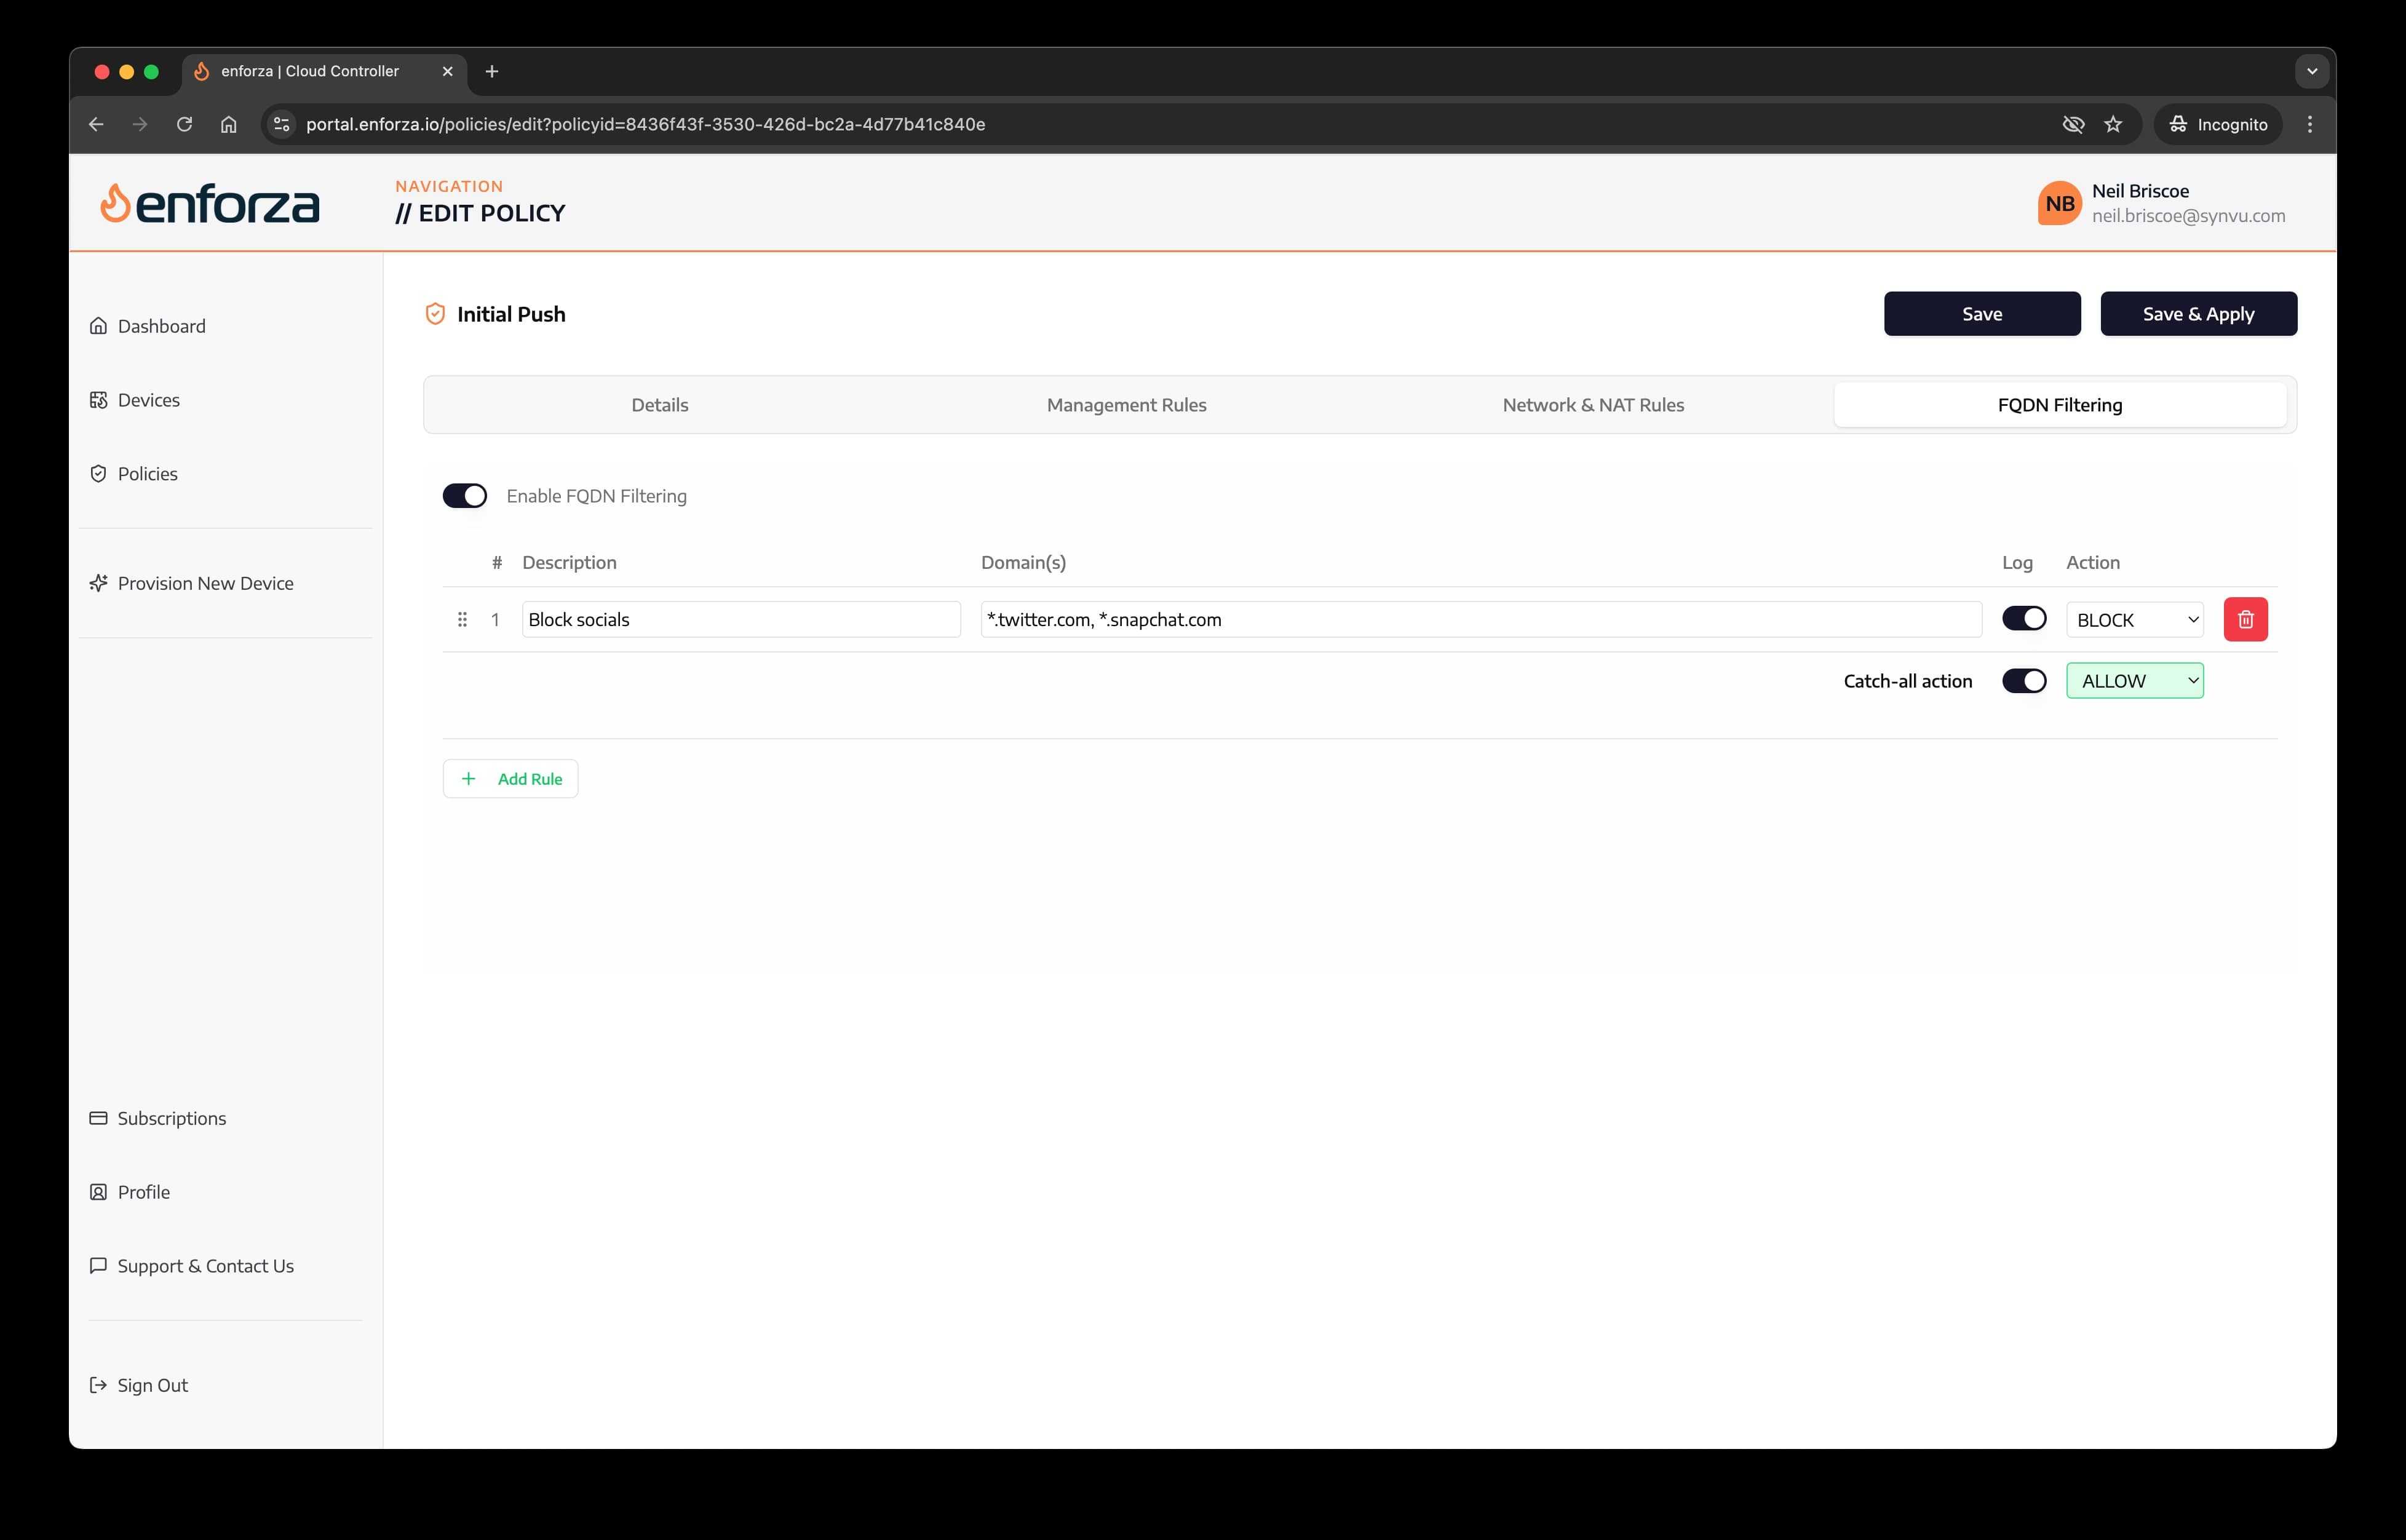
5. FQDN rules
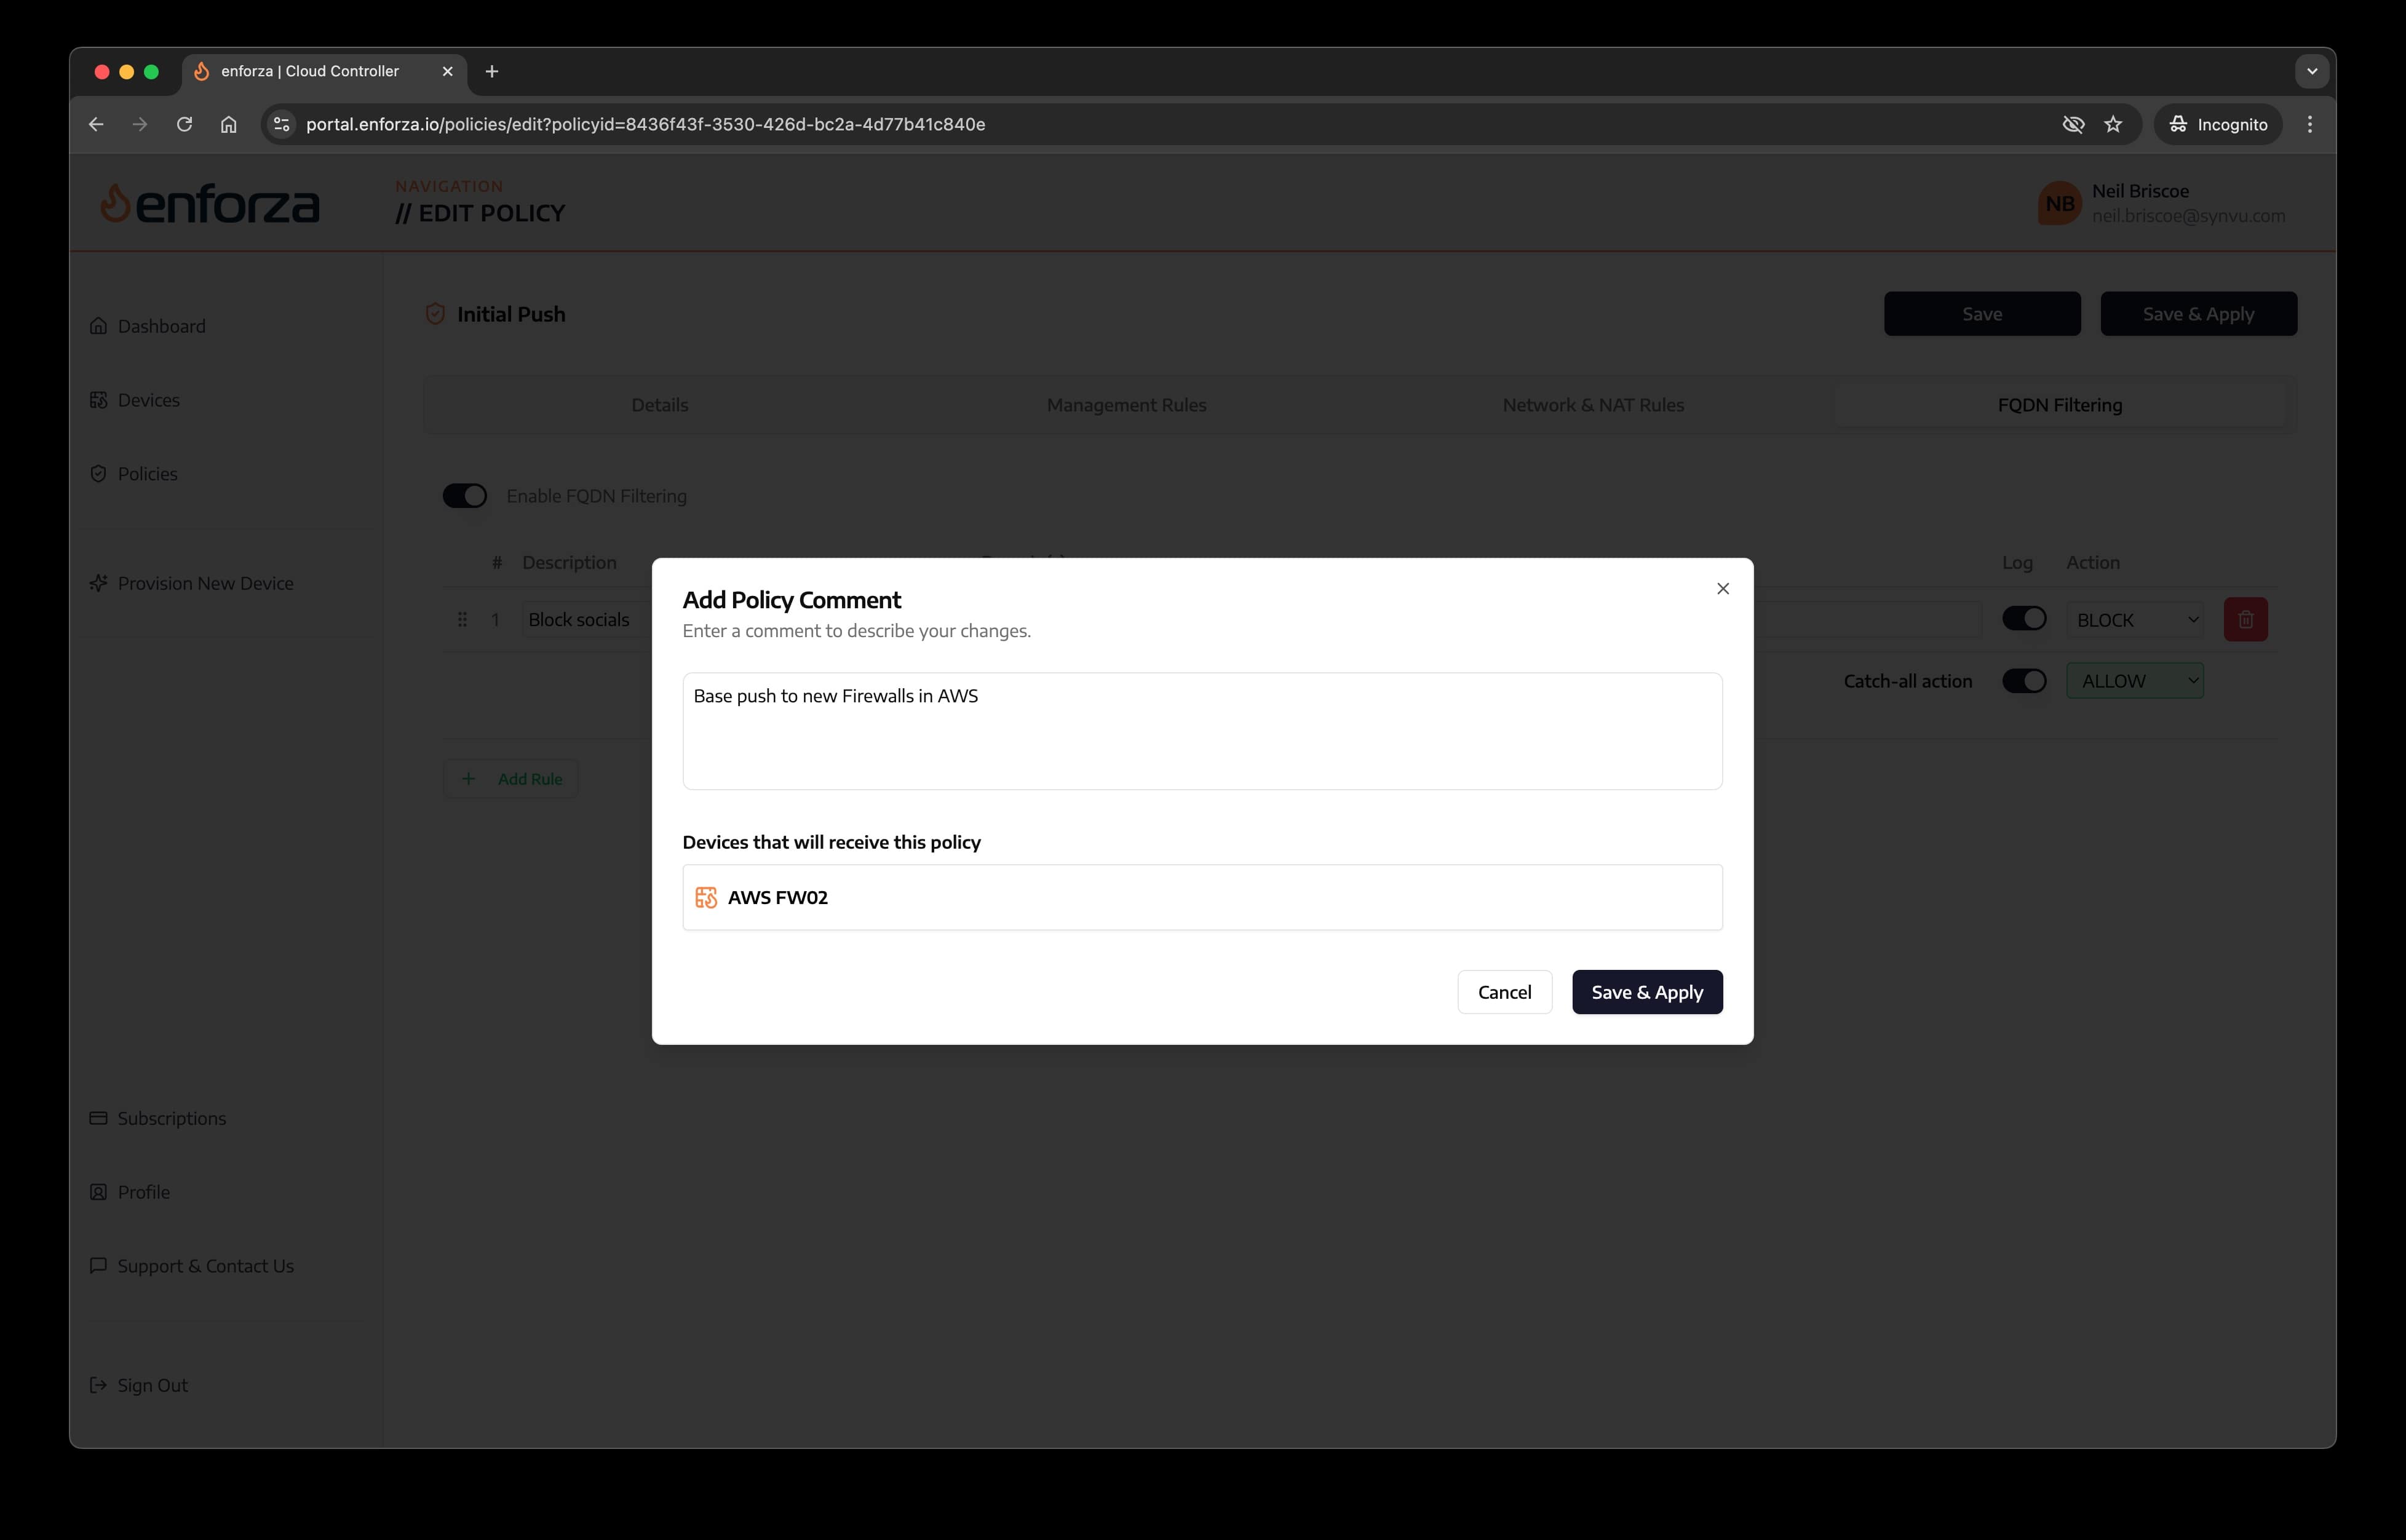
5. Save & Apply Policy
- "Save" - to be used when you want to build a policy but want to push it later.
- "Save & Apply" - to be used when you want to build a policy, save it and push it immediately
Click the "Save & Apply Policy" button. You will be prompted to enter a comment for this push.
If everything is ok, your device is connected, the policy looked ok and was pushed successfully, you will see the following message:
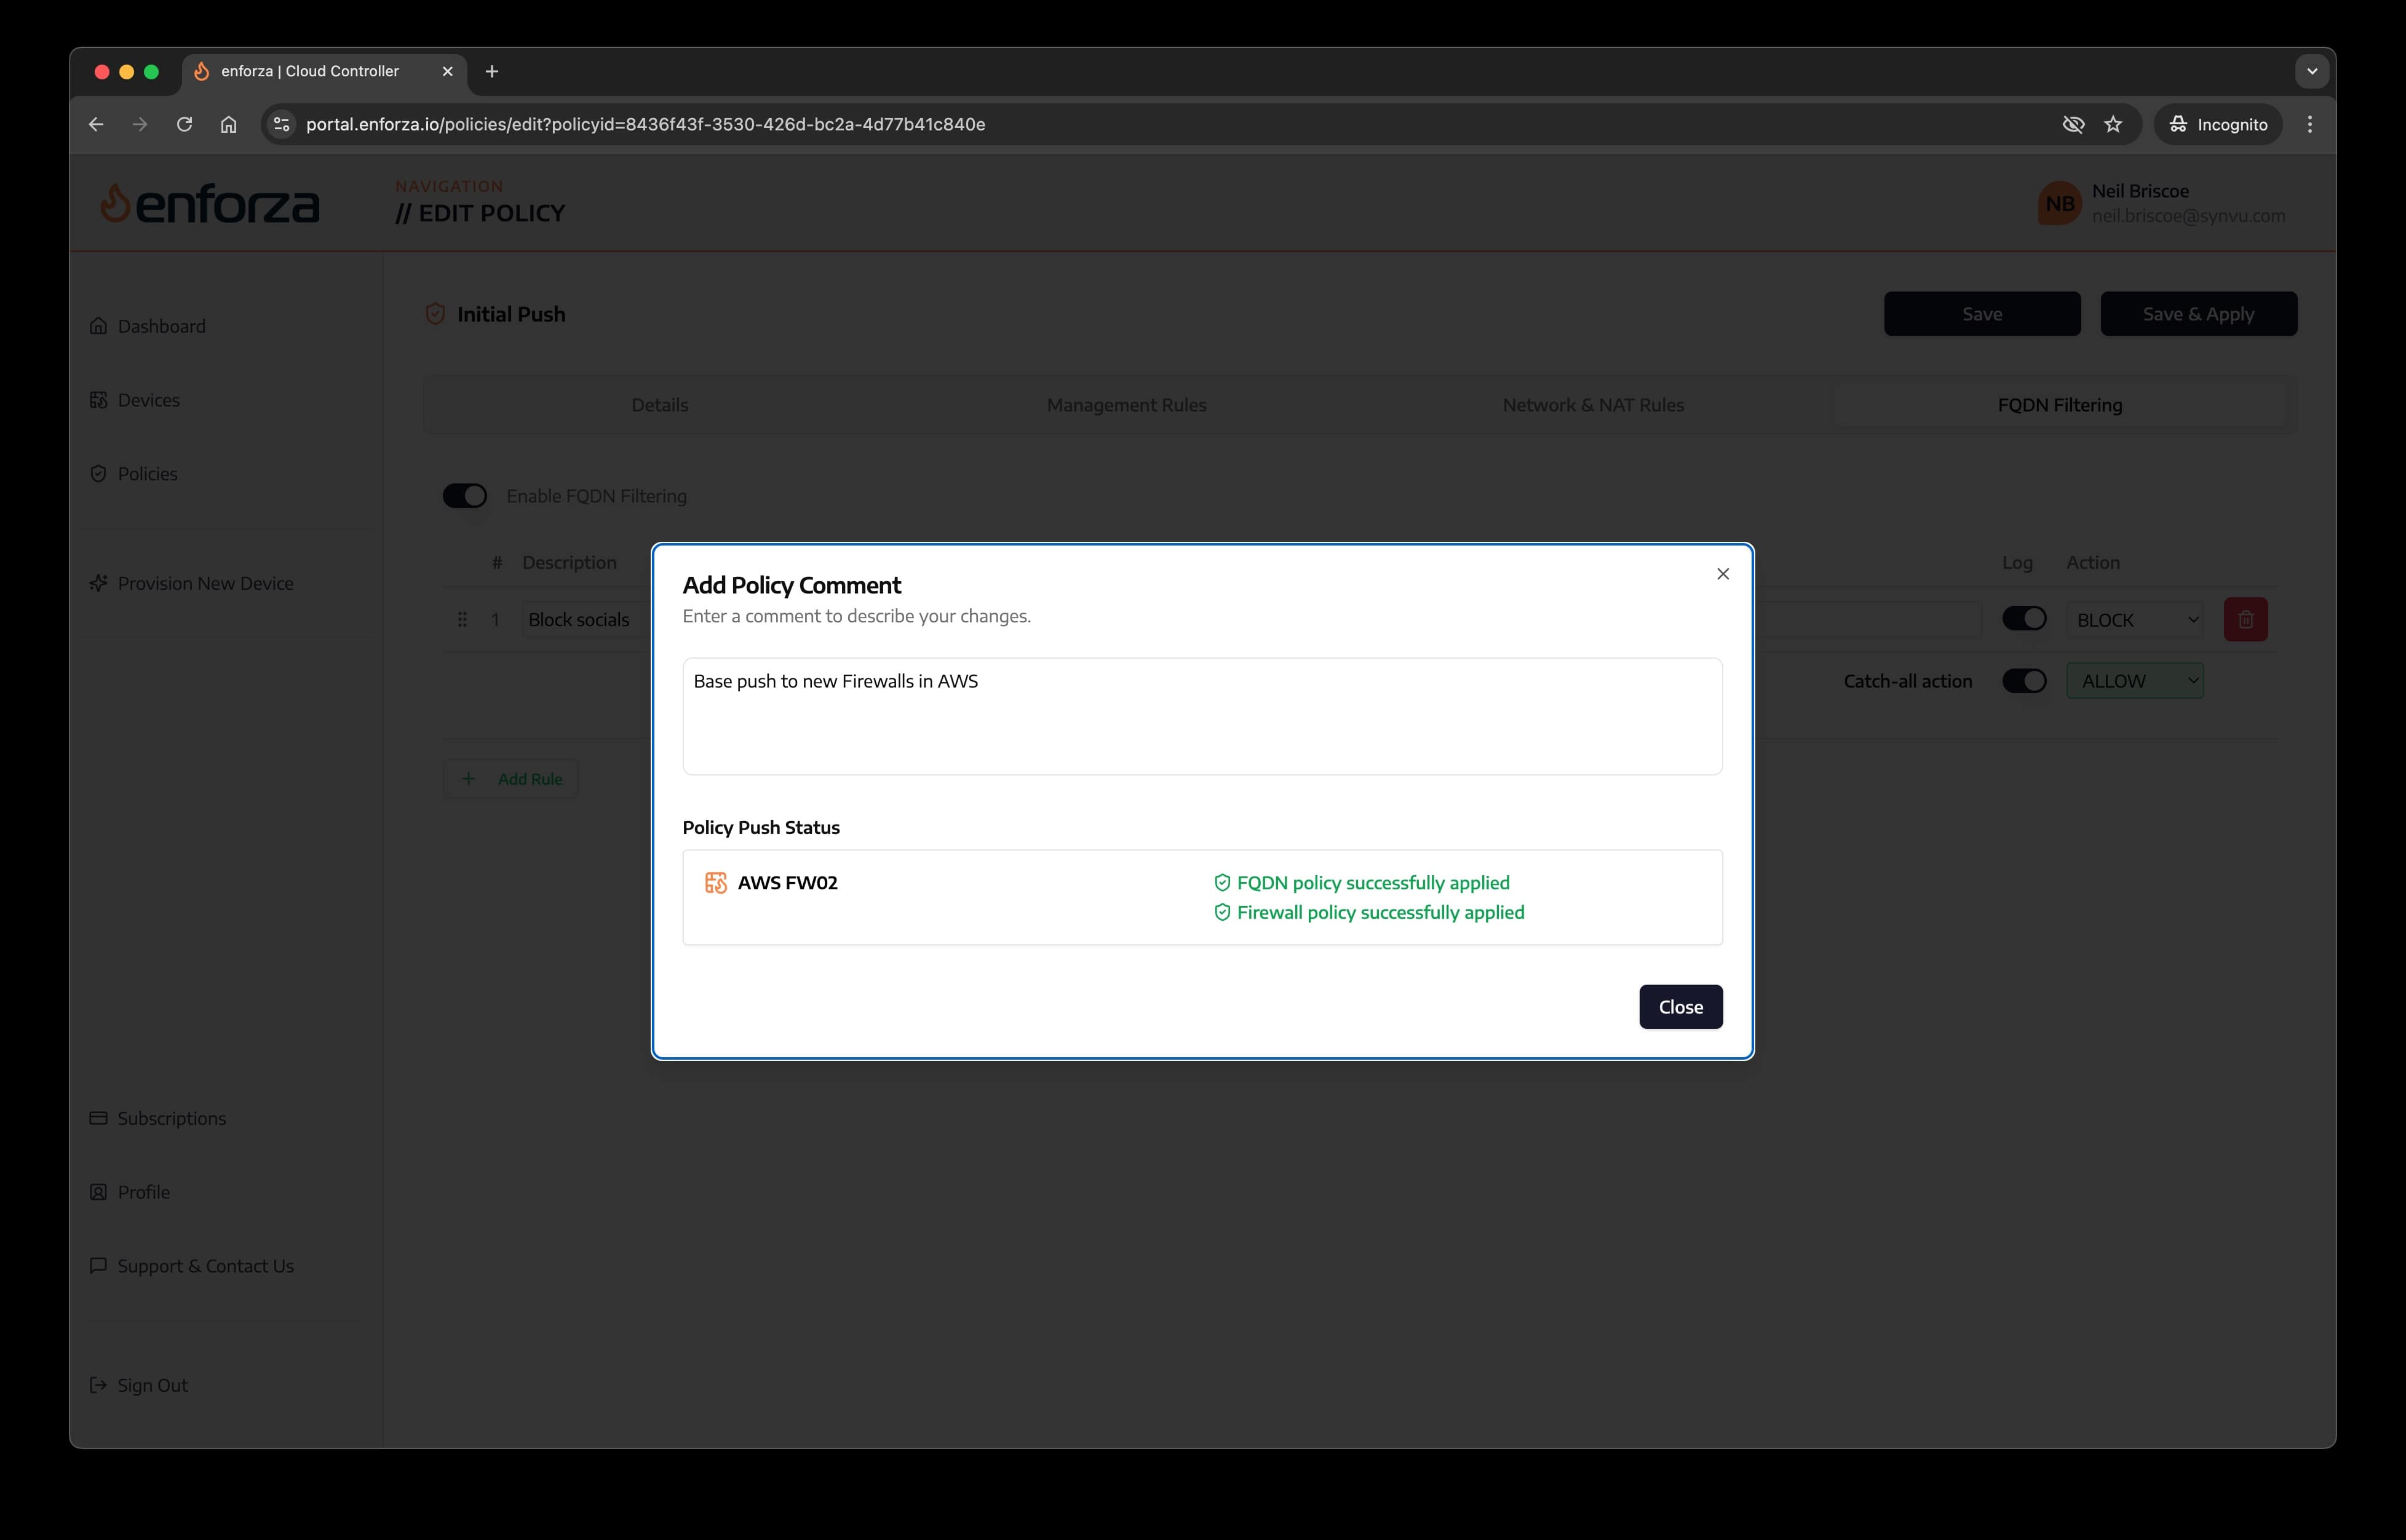
Any other errors will show here if the policy could not be pushed.
🎉 Success!
You’ve successfully created and pushed your first policy! 🚀
Next Steps
- View the logs and telemetry (license type permitting)